
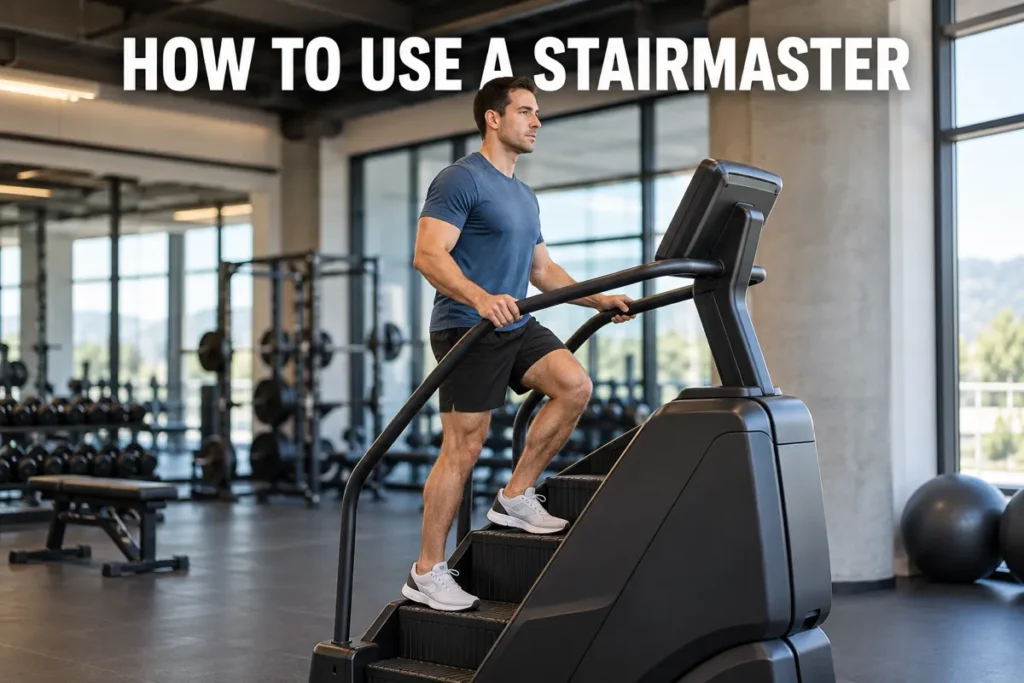
Knowing how to use a StairMaster correctly is the difference between a machine that genuinely transforms your cardio fitness and one that leaves your quads wrecked for a week with nothing to show for it. I've worked with clients who spent months on this machine and saw almost no progress, simply because they were leaning too hard on the rails or taking steps too shallow to activate their glutes. In this guide, I'll walk you through machine setup, proper form, beginner progressions, and goal-specific strategies so you can get real results from your first session onward.

How to Use a StairMaster - Know Your Machine Before You Step On
Before you press start, understanding what you are stepping onto matters more than most beginners realize. The term stair climber covers several distinct machine types, and technique cues vary between them.
My stair climber machine guide covers all major machine types for readers who want to understand the full stair climbing category.
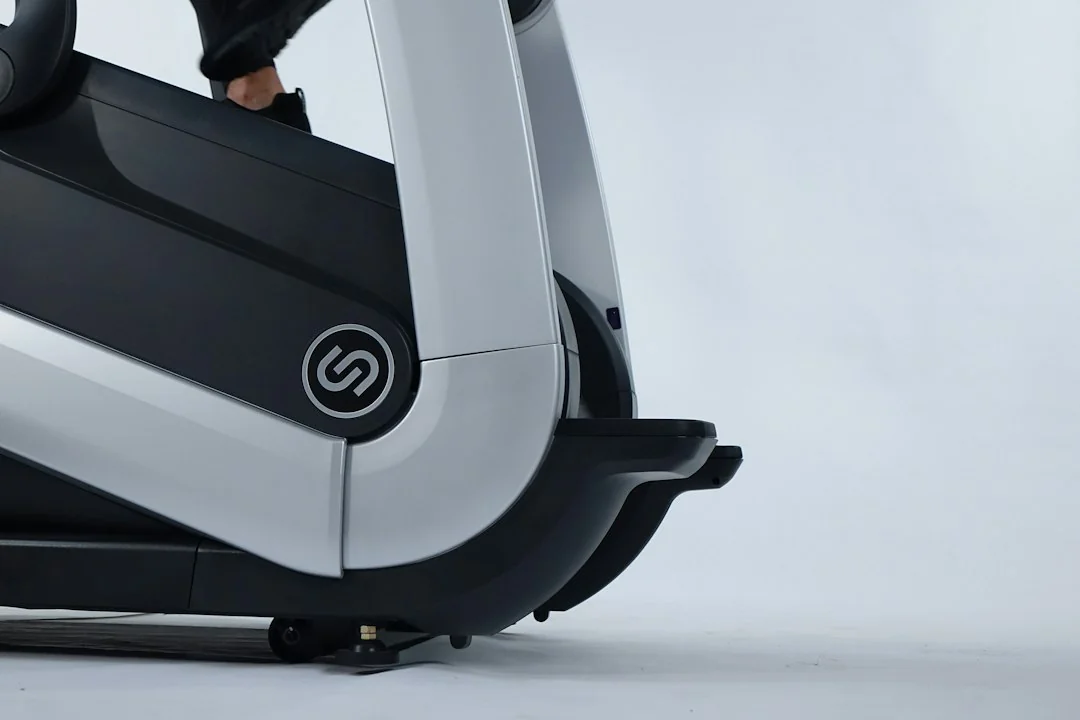
StairMaster is a brand name, and it refers specifically to the stepmill - the revolving staircase you see at most commercial gyms. When I use the phrase "how to use a StairMaster" throughout this guide, I mean the stepmill. A pedal-based stair stepper at home follows similar foot placement and posture principles, but the range of motion per stride is smaller and the glute demand is lower per step. If you want to know how to use a stair stepper at home or how to use a stepper machine for beginners in a home gym context, the technique cues in this guide apply directly - just scaled to a shorter step range.
If you are deciding between a StairMaster vs treadmill for your gym routine, our comparison covers that in detail. This guide focuses entirely on technique and programming once you are on the machine.
Getting Started - How to Set Up a StairMaster Workout
Setup takes roughly 90 seconds. Skipping any of these steps is how people end up gripping the side rails for dear life by minute three.
- Turn the machine on and set the level to 4-5 before stepping on.
- Step onto the fixed side rails - never onto the moving steps while the machine is at rest.
- Wait until the steps are moving consistently, then step onto the belt with both feet.
- Place your feet flat on each step - heel to toe contact, not just toes or ball of foot.
- Rest your fingertips lightly on the handrails for initial balance only.
- Set your target time on the console before you begin stepping so you are not fumbling mid-session.
- Step back onto the side rails to exit - never jump off a moving stepmill.
Speed and Resistance - What the Numbers Mean
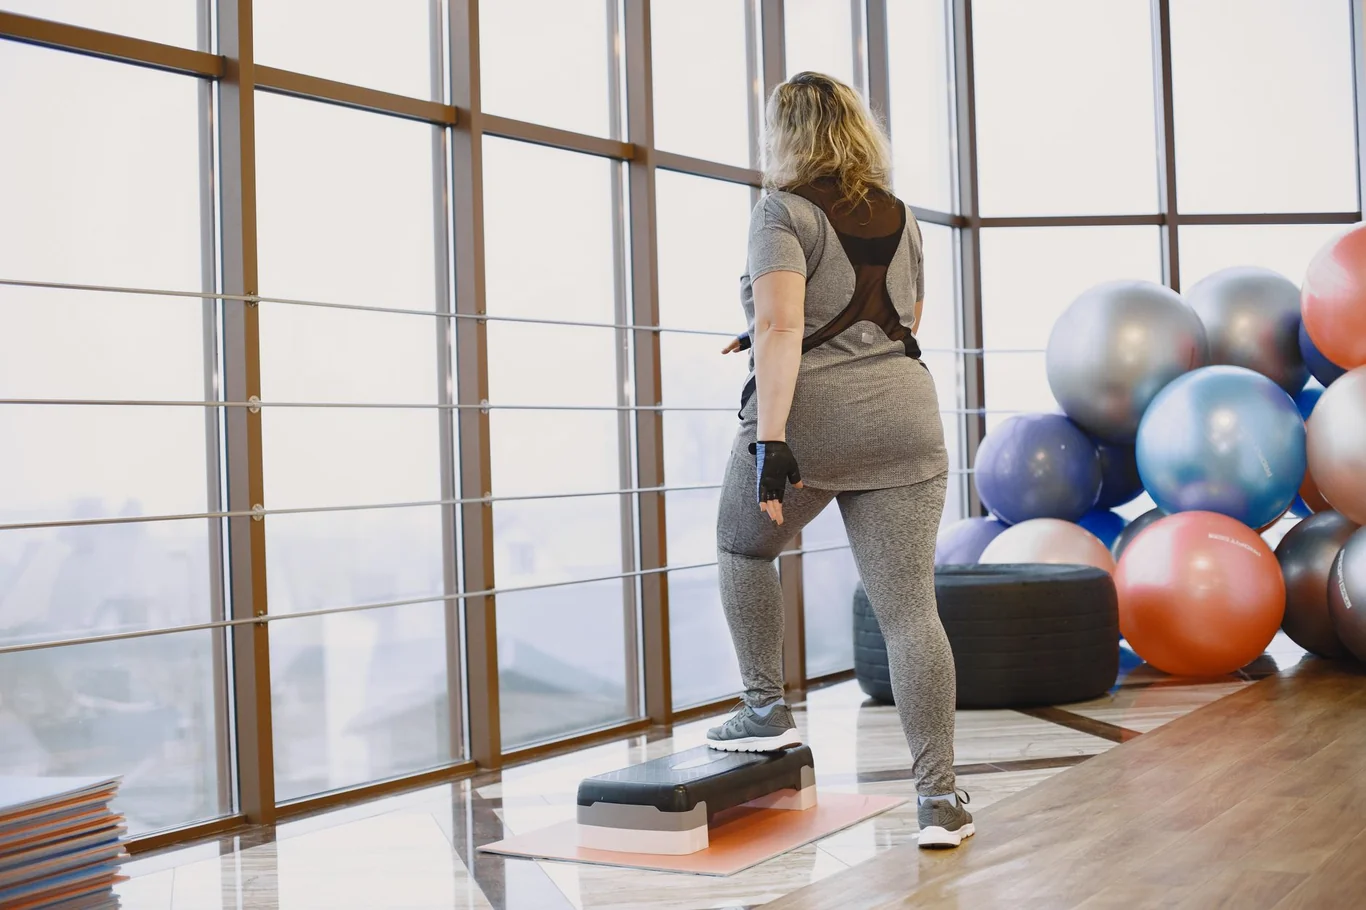
Most commercial stepmills use a 1-20 level scale. Levels 4-6 are appropriate for beginners. Levels 7-12 are moderate. Levels 13 and above are intense even for experienced users. My coaching guideline is simple: if you can hold a conversation in full sentences, increase the level by one. If you cannot say three words without gasping, drop a level.
Proper StairMaster Form and Technique
Form is where the vast majority of StairMaster users lose their results. I've watched hundreds of gym sessions where the machine was technically "in use" but the person on it was leaning forward, hanging off the rails, and shuffling steps. The outcome is minimal glute activation, reduced cardiovascular demand, and a calorie counter that flatters rather than reflects actual effort.
Research suggests that stair climbing improves cardiovascular fitness, reduces blood glucose, and builds aerobic capacity within four to eight weeks of regular training (1). Those benefits assume you are actually working - and proper form is what produces that work.
Readers who want the full picture of what those benefits are will find them in my stairmaster benefits guide.
Foot Placement and Step Depth
- Drive your heel into the step as you land - heel down first, then press through the ball of your foot as the step descends. This is the primary technique cue that separates productive stepping from shuffling.
- Take a full step depth - your foot should land across the full width of the step, not perched at the front edge
- Avoid shuffle-stepping - each step should complete its full downward travel before the next one begins
- Keep your knees tracking over your second toe on every push-down
- Land softly - loud stomping usually means you are dropping rather than controlling the descent
Core, Posture, and the Handrail Question
Posture dictates which muscles actually work during your session. A rounded back, dropped chin, and arms propped on the rails shifts mechanical load off your legs and onto your shoulders and lower back.
The handrail question comes up with almost every new client I work with. Here is my honest answer: your fingertips can touch the rails for balance during your first few sessions. The moment you are leaning any of your body weight forward onto the rails, you meaningfully reduce the muscular demand on your legs. If you cannot maintain upright posture without leaning, drop the level rather than prop yourself up.
Posture cues to apply every session:
- Hips stacked under your spine, not pushed back
- Chest lifted, gaze forward at a fixed point
- Shoulders down and relaxed, not shrugged toward your ears
- Core braced with a natural breath pattern
- A slight forward lean from the hips (5-10 degrees) is normal on a stepmill
Stepping Variations for Progression
Once your basic form is solid, stepping variations add intensity and target different muscle groups without needing to increase the machine level.
My stairmaster workout guide covers all major session formats that use those variations effectively.
- Double-stepping: Skip every other step to increase the range of hip extension per stride and place more demand on the glutes and hamstrings. Only attempt this once you can hold steady form at level 6 or above.
- Side-stepping: Stand sideways and step laterally to increase hip abductor activation. Alternate sides every 2-3 minutes.
- Slow and deliberate stepping: Drop the level by 2 and take three full seconds per step. This removes momentum and maximizes time under tension for the posterior chain.
How to Use a StairMaster for Beginners - A 4-Week Progression Plan
When I bring a new client onto the StairMaster for the first time, my week-one goal is always the same: teach them to step correctly, not to exhaust them. Many beginners overestimate their capacity on this machine. Unlike the treadmill, you cannot simply slow the belt - the steps keep coming and require constant movement to keep up.

Here is how to use StairMaster for beginners across a four-week progression:
- Week 1: 10-12 minutes at level 4-5. Focus on form only - heel down first, fingertips on rails at most, gaze forward. Finish each session slightly out of breath but in control.
- Week 2: 15-18 minutes at level 5-6. Add two rail-free intervals of 60 seconds each per session.
- Week 3: 20-22 minutes at level 5-6. Aim for 3-4 minutes total without handrail contact. Try the arms-crossed test.
- Week 4: 25-30 minutes at level 6. Full sessions with fingertip-only contact. This becomes your baseline for progressive overload.
A controlled six-week step protocol improved lower limb power by 10-11% and reduced stair climb time by 9% in study participants (2). That kind of progression is realistic for beginners - but only with consistent effort over multiple weeks, not one punishing session.
Signs you are ready to move to the next week:
- You complete the full target duration at the current level without gripping the rails
- Your heart rate returns to near-resting within 3-4 minutes after the session ends
- You can maintain correct posture throughout without deliberate mental effort
If you are wondering how long should I do StairMaster as a beginner, the answer is: start with 10-12 minutes and add 3-5 minutes per week. You are building a mechanical skill, not just cardiovascular endurance.
Once you build a base of four to six weeks, shorter high-intensity intervals become viable. Research on brief vigorous stair climbing found that as little as 7 minutes produced cardiovascular fitness improvements comparable to longer moderate-intensity exercise (3), which supports prioritizing form and effort quality over raw duration once you have the stepping mechanics down.
Readers deciding between HIIT and steady-state for their StairMaster sessions will find the comparison in my HIIT vs steady state cardio guide.
Using a fitness tracker during your first few weeks can help you verify you are training in the right heart rate zones, giving you objective data on whether your effort level is genuinely aerobic or just uncomfortable enough to feel productive.
How to Use a StairMaster for Glutes - Maximizing Lower-Body Activation
The StairMaster has earned a strong reputation for glute development, and it deserves it - the stepping motion closely mirrors the hip extension mechanics of a lunge and a step-up. But the key phrase is "can be." Poor form eliminates most of the glute stimulus, which is why two people doing the same level for the same duration can have completely different results.
Readers wondering how those results compare to rowing machine training will find the analysis in my stairmaster vs rowing machine guide.
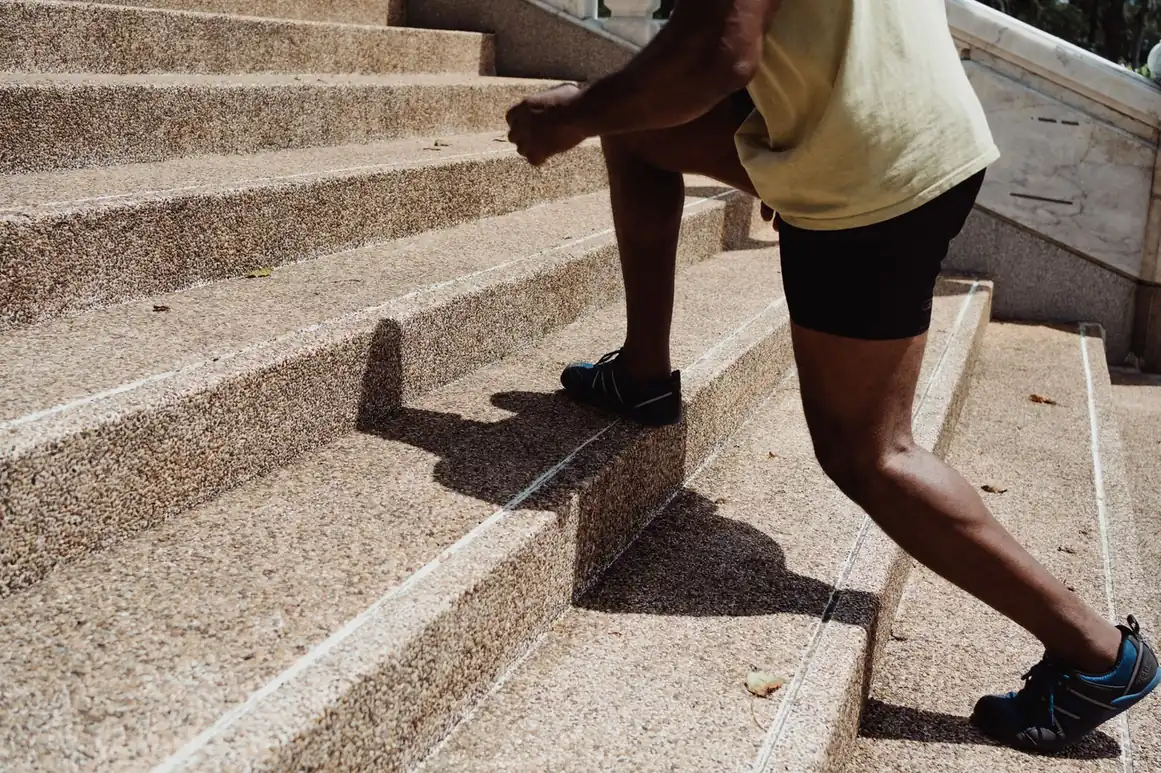
To understand how to use StairMaster for glutes - or how to use a stair climber for glutes on any step machine type - the same two variables control activation: step depth and heel drive.
Step Depth and Heel Drive - The Key Glute Activation Variables
Glute activation on the stepmill depends on how deep you step and where your foot strikes first.
The full breakdown of which muscles that activation targets, and how step depth shifts the load, is in my stairmaster lower-body muscles guide.
To use the StairMaster for glutes effectively:
- Land heel-first on every step, then continue pressing through the heel as the step descends - this keeps the gluteus maximus engaged through the full range of hip extension
- Take deeper, slower steps rather than faster, shallower ones - a deeper step increases the range of hip extension available per stride
- Allow a slight forward lean from the hips (5-10 degrees) - this increases posterior chain activation compared to standing fully upright
- Do not push off the balls of your feet at the top of the step - this shifts demand to the calves rather than completing the glute contraction
- Consider removing your hands from the rails for sets of 30-60 seconds once your balance improves - this forces your core to stabilize and increases overall muscle demand
For how long should I do StairMaster for glutes: I recommend 20-30 minutes at a moderate level (6-9) with full step depth and no handrail support. Shorter sessions with proper form consistently outperform longer sessions with poor form for lower-body muscle development. The muscles recruited include the gluteus maximus, gluteus medius, hamstrings, quadriceps, and hip flexors - a near-complete lower-body stimulus in a single movement pattern.
Readers wondering how that lower-body focus compares to the elliptical will find the breakdown in my stairmaster vs elliptical comparison.
How to Use a StairMaster for Weight Loss
The StairMaster is an effective tool for calorie expenditure, but the numbers depend heavily on your body weight, the level you choose, and whether you are maintaining proper form or leaning on the rails. These are estimates - real energy expenditure varies by individual fitness level and pace.
Readers who want accurate data on that expenditure will find it in my how many calories does the stairmaster burn guide.
Research on stair climbing energy expenditure confirms that calorie burn scales directly with body mass - single-step stair climbing burns approximately 8.5 kcal per minute under controlled conditions (4). Brief stair climbing sessions also significantly reduce postprandial blood glucose - even one to three minutes of stair climbing after a meal reduces glucose by approximately 14-18 mg/dL in healthy adults (5), which has meaningful implications for metabolic health over time.
An important nuance: body weight changes from stair climbing alone tend to be modest. A scoping review of 24 stair climbing studies found that while cardiovascular fitness and insulin sensitivity improved consistently, fat mass changes were minimal without dietary adjustments (1). The StairMaster supports a calorie deficit - diet creates it.
For how to use StairMaster for weight loss: aim for 25-45 minutes three to five times per week, paired with a calorie deficit. The question of how many calories does stairmaster burn is less useful than tracking your total weekly energy expenditure trend.
Readers who also use the rowing machine as part of their cardio mix will find its benefits covered in my rowing machine benefits guide.
Rotating between the StairMaster and other cardio machines prevents adaptation. Our guide on how to use a treadmill covers pace and interval programming for comparison. For low-impact recovery days, how to use an elliptical protects your joints while maintaining cardiovascular output. If you want upper-body involvement in your cardio rotation, how to use a rowing machine makes it a near-complete total-body option.
Common StairMaster Mistakes and How to Fix Them
After years of coaching clients on cardio machines, I can confidently say these six mistakes account for the overwhelming majority of poor results on the StairMaster.
- Leaning your full body weight onto the handrails. Reduces leg and glute demand significantly. Fix: drop two levels and build the strength to step without relying on the rails.
- Shuffle-stepping with a shallow range of motion. Removes hip extension from the movement and turns it into a quad-dominant shuffle. Fix: slow down, step deeper, and pause for a count at each step if needed.
- Looking down at your feet. Promotes neck strain and forward trunk rounding. Fix: pick a fixed point at eye level and hold your gaze there.
- Starting at too high a level. Level 12 in your first session will destroy your quads and discourage consistent training. Fix: start at levels 4-6 and progress by one level every one to two weeks.
- Skipping the post-session stretch. The quads, hip flexors, and calves absorb prolonged eccentric load during stepping. Fix: spend at least five minutes stretching after every session.
- Comparing your calorie burn number to someone else's. Two people at the same level for the same duration burn very different calories based on body weight and form quality. Fix: track your own weekly progression instead.

Warm-Up, Cool-Down, and Recovery
The StairMaster demands more from your lower body than most cardio machines, which makes session management on either side of your workout important.
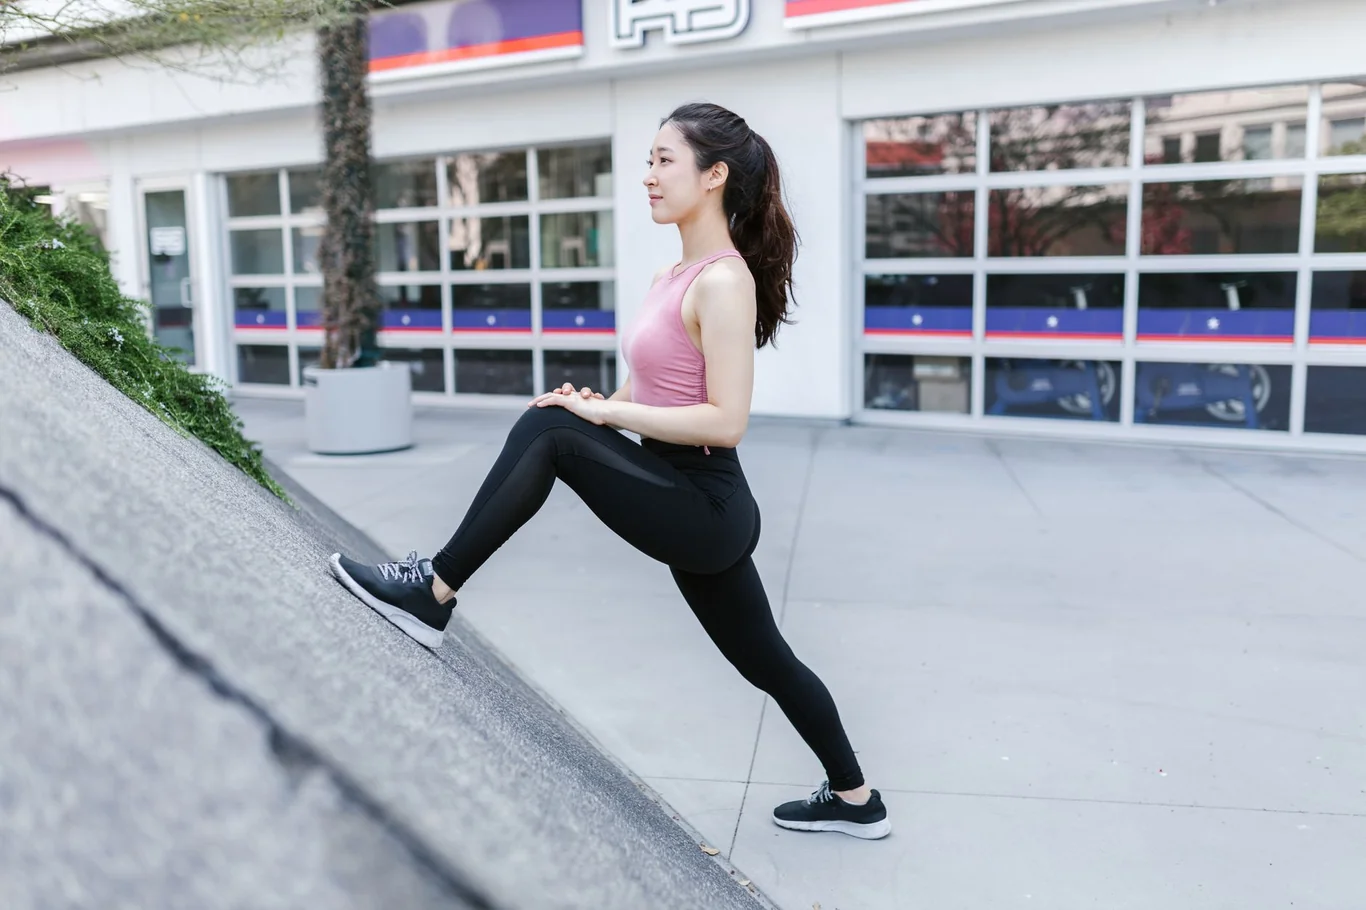
Before your session (5 minutes): Hip flexor lunges (30 seconds per side), bodyweight squats (15 reps), and ankle circles (10 per direction) prepare the hip, knee, and ankle joints for the stepping pattern before the load increases.
After your session (5 minutes minimum): Hold each of these for 30-45 seconds per side - standing quad stretch, kneeling hip flexor stretch, seated calf stretch, and a figure-4 glute stretch. The quads, hip flexors, and calves absorb the most eccentric loading on the stepmill and will tighten quickly if you skip this step.
Recovery between sessions: For beginners, 48 hours between sessions is a reasonable minimum in the first two weeks. As your legs adapt, daily use is fine if form stays intact and you are not experiencing joint soreness.
Readers who prefer a lower-impact alternative will find the elliptical vs treadmill comparison in my elliptical vs treadmill guide.
Making It Work - Your Long-Term StairMaster Strategy
The StairMaster delivers exactly as much as your technique allows. In my experience coaching clients on this machine, the ones who see the best long-term results treat it as a technique exercise first and a calorie burn second. They step with full depth, they keep their hands off the rails, and they build session duration gradually across four to six weeks before chasing higher levels.
One practical tip I give almost every new client: at some point in week three, cross your arms over your chest or place your hands behind your back for at least 60 seconds. The moment you remove the rails as a crutch, your posture corrects itself immediately. That instinctive correction tells you what your body is capable of when it cannot lean on anything for support.
FAQs
How long should a beginner use the StairMaster?
A beginner should start with 10 to 12 minutes at a low level (4-5 out of 20) and add 3 to 5 minutes per session each week as stepping technique improves and leg endurance builds. Most beginners can reach a sustainable 25 to 30-minute session within four weeks without experiencing excessive muscle soreness or form breakdown.
Readers still deciding between machines before committing to a routine will find the full comparison in my best cardio machine guide.
Does the StairMaster burn belly fat?
The StairMaster does not specifically burn belly fat because spot reduction - targeting fat loss from one body area through localized exercise - is not physiologically possible. What stair climbing does is contribute to an overall calorie deficit and improve cardiovascular health, which supports whole-body fat reduction over time when paired with a controlled diet.
Readers considering the elliptical for those same cardiovascular outcomes will find the evidence in my elliptical machine benefits guide.
What are common StairMaster mistakes?
The most common StairMaster mistakes are leaning body weight onto the handrails (which significantly reduces leg and glute activation), taking overly shallow shuffle steps that eliminate hip extension, and starting at a level that is too high before the body has adapted to the movement pattern. Skipping post-session stretching for the quads, hip flexors, and calves also leads to unnecessary soreness that discourages consistent training.
What is the 45-7-6 rule on the StairMaster?
The 45-7-6 rule on the StairMaster is a popular social media fitness protocol: 45 minutes on the machine at level 7, performed 6 days per week. This protocol became widely shared as a glute-building and fat-loss method. The duration and frequency are reasonable for intermediate users who already have solid form and several weeks of consistent stepping behind them, but beginners should not attempt this protocol until they have built a base of at least four to six weeks of progressive training at lower levels.
Readers building that same base on a treadmill will find the full benefits of that approach in my treadmill benefits guide.
How long should I do the StairMaster to lose belly fat?
Aiming for 25 to 45 minutes on the StairMaster three to five times per week creates a meaningful cardiovascular contribution to a calorie deficit, which supports overall fat reduction including in the abdominal area over time. The session duration matters less than consistency and maintaining proper form throughout - a 25-minute session with full step depth and no handrail support produces more metabolic demand than a 45-minute session spent leaning forward on the rails.
This content is for informational and educational purposes only. It is not a substitute for professional medical advice, diagnosis, or treatment. Always consult with your healthcare provider before starting any new fitness program.
References
- Ghosal AM, Chandrasekaran B. Stair-Climbing Interventions on Cardio-Metabolic Outcomes in Adults: A Scoping Review. J Taibah Univ Med Sci. 2023;19(1):136-150. doi:10.1016/j.jtumed.2023.10.003.
- Mair JL, De Vito G, Boreham CA. Low Volume, Home-Based Weighted Step Exercise Training Can Improve Lower Limb Muscle Power and Functional Ability in Community-Dwelling Older Women. J Clin Med. 2019;8(1):41. doi:10.3390/jcm8010041.
- Dunford EC, Valentino SE, Dubberley J, et al. Brief Vigorous Stair Climbing Effectively Improves Cardiorespiratory Fitness in Patients With Coronary Artery Disease: A Randomized Trial. Front Sports Act Living. 2021;3:630912. doi:10.3389/fspor.2021.630912.
- Halsey LG, Watkins DAR, Duggan BM. The Energy Expenditure of Stair Climbing One Step and Two Steps at a Time: Estimations from Measures of Heart Rate. PLoS ONE. 2012;7(12):e51213. doi:10.1371/journal.pone.0051213.
- Moore JM, Salmons H, Vinoskey C, Hooshmand S, Kressler J. One Minute of Stair Climbing and Descending Reduces Postprandial Insulin and Glucose With 3-min Improving Insulin Resistance Following a Mixed Meal in Young Adults. J Exerc Sci Fit. 2024;22(3):266-270. doi:10.1016/j.jesf.2024.03.004.