
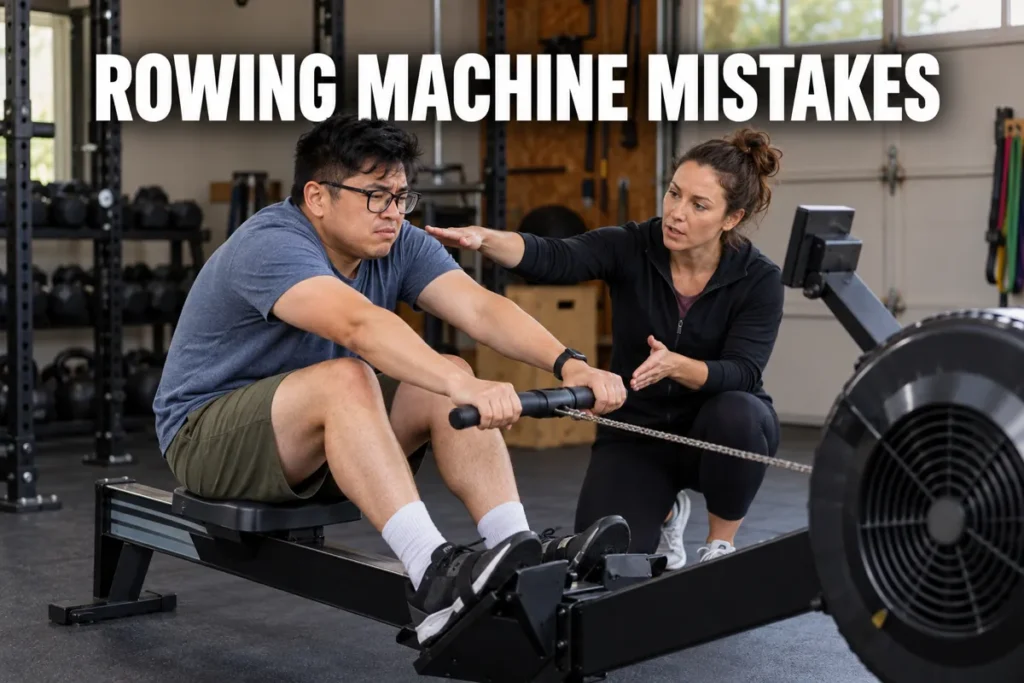
Rowing machine mistakes happen at every experience level, and I see the same patterns repeat across sports science settings focused on biomechanics and joint stress. The stroke looks simple from the outside: sit, pull, repeat. But without proper form guidance, most rowers use too much arm, too little leg, and a damper setting that works against them the entire session. The result is wasted effort, slower progress, and a lower back that suffers for it.
This guide identifies the 12 most common rowing machine mistakes across technique, setup, and workout programming. Each section explains the error, why it limits performance or causes injury, and the specific fix. Rowing machine benefits are real and well-supported by research, but only if the stroke pattern is sound from the start.
Rowing Machine Mistakes That Undermine Power and Form
The first five technique errors account for the majority of rowing machine mistakes observed in practice. Each one disrupts the sequential nature of the rowing stroke, which moves through four phases: the catch (start position), the drive (power phase), the finish (end of drive), and the recovery (return to catch). Disrupting the sequence at any phase reduces power output and raises injury risk. A systematic review of 22 studies found that rowers with lower back pain showed distinctly different kinematics at the catch and finish compared to pain-free rowers, with fatigue accelerating lumbar flexion specifically on the ergometer (1).
Mistake 1 - Rowing with Your Arms Only
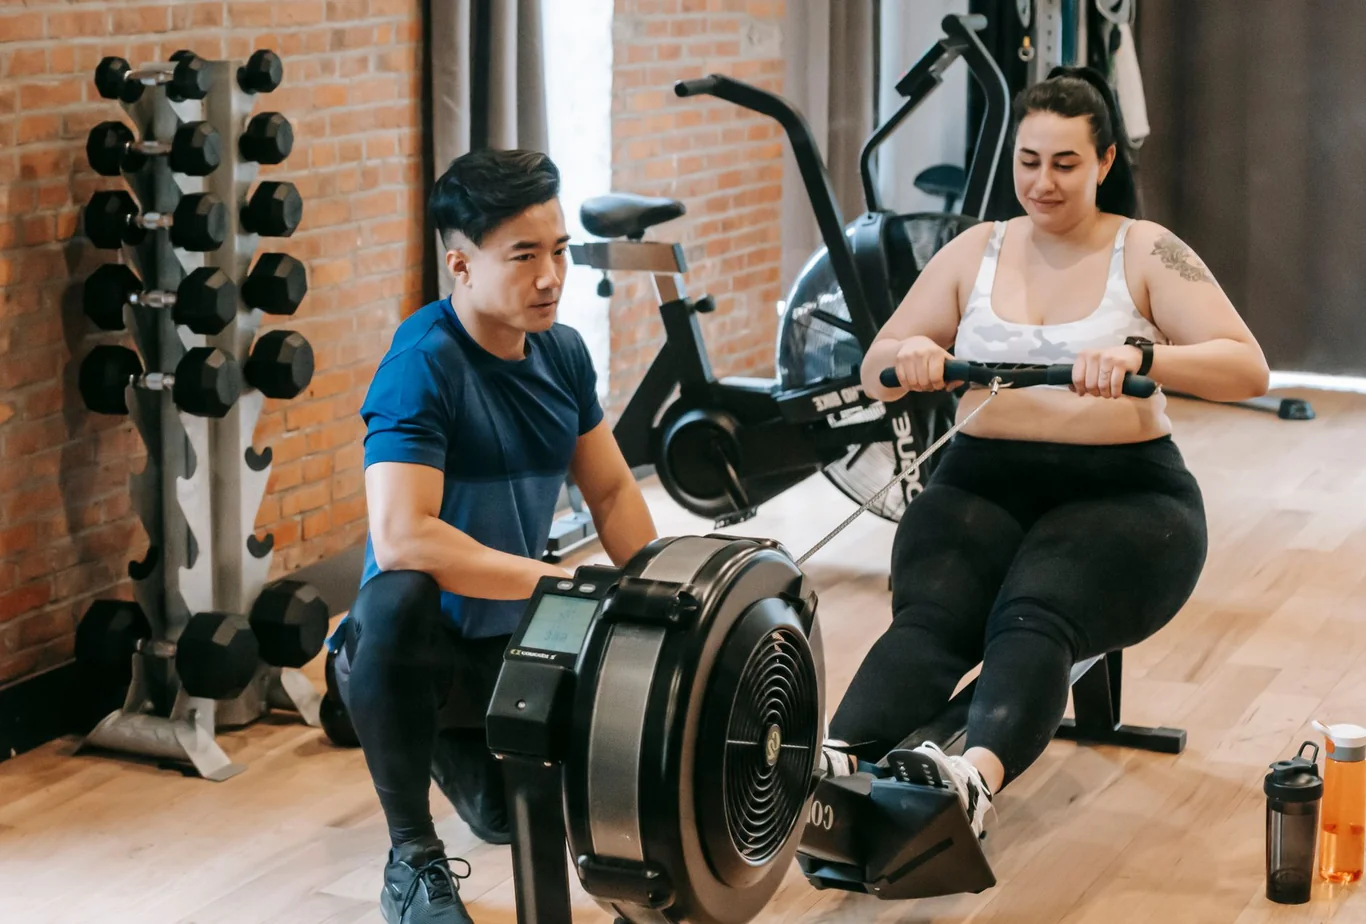
The single most common of all rowing machine mistakes is using the arms as the primary mover. Most beginners feel the effort in their biceps and assume the workout is effective. It is not. Proper power distribution puts approximately 60% of the force through the legs, 20% through the trunk and core, and 20% through the arms. The legs are the engine; the arms are only the transmission.
Body Segment | Force Contribution | Primary Role in Stroke |
Legs | ~60% | Engine: quads, hamstrings, glutes, and calves drive the push |
Trunk and core | ~20% | Transfer: connects leg drive to the arm pull |
Arms | ~20% | Transmission: final draw of handle to the lower ribs |
I emphasize the muscles a rowing machine works to explain why leg drive is the priority: quads, hamstrings, glutes, and calves all engage during a proper drive phase, and only after the legs have fully straightened should the hips hinge back and the arms draw the handle to the lower ribs at the finish. A classic study of competitive oarsmen found that maximal 6-minute rowing efforts produced total energy costs of 221.5 kcal, with 70% from aerobic pathways, which depend entirely on sustained leg-driven output (2).
Fix: At the catch, shins should be vertical and arms straight. Think "push the floor away" with your feet before doing anything with your hands. The drive begins through the footstretcher, not through the handle.
Mistake 2 - Pulling Your Arms Before Your Legs Finish the Drive
This is often called "breaking the chain," and it is one of the rowing machine mistakes that kills efficiency immediately. When the elbows bend while the legs are still mid-drive, the transfer of force through the body breaks. Instead of one connected push-pull movement, the result is two weak half-movements: a partial leg push followed by an isolated arm row.
The correct drive sequence is non-negotiable. At the catch, arms are straight and shins vertical. During the drive, legs extend first. When the legs are about 80-90% extended, the hips swing back. Only then do the elbows draw behind the body, bringing the handle to the lower ribcage at the finish. The recovery is the exact mirror: arms extend first, then the body hinges forward, then the knees bend. I walk through the full stroke and workout plans in my guide to using a rowing machine.
Fix: Practice the pause drill at two points in the stroke: pause at the finish with arms in and body at slight lean-back, then separately pause with arms fully extended and body hinged forward before allowing the knees to rise. This builds body memory for the correct sequence before adding speed.
Mistake 3 - Rounding Your Lower Back
Lumbar rounding during rowing is the technique error most directly linked to pain and injury. A meta-analysis of 10 studies covering 2,082 rowers found that previous low back pain was the strongest predictor of future LBP, with an odds ratio of 2.65, suggesting that unresolved poor form creates compounding injury risk over time (3). Each rounded stroke loads the lumbar discs in flexion under load, a pattern that accumulates quickly across a 20-minute session. I cover rowing machine and back pain in more detail, including what the evidence says.
I see this most often at the catch, where rowers collapse through the lower back trying to reach too far forward, and at the finish, where the back rounds under the effort of the final pull. A neutral spine does not mean a rigid, perfectly straight back - it means the natural curves of the spine are maintained throughout the stroke.
Rowers without back pain show neutral or anterior pelvic rotation at the catch and trunk-extensor dominant muscle activity, while those with LBP demonstrate comparatively greater flexor activity throughout the drive, according to Nugent et al. (2021).
Fix: Before each session, practice the catch position off the machine: sit at the edge of a seat with knees bent and feet flat on the floor, hinge forward from the hips keeping the chest up and proud, and maintain that hip-hinge posture rather than allowing the lower back to round forward. If lower back aching follows a rowing session, this mistake or Mistake 4 is almost always the cause.
Mistake 4 - Leaning Back Too Far at the Finish
Excessive layback is the opposite of rounding, and it is equally damaging. At the finish of the drive, the body should lean back approximately 15-25 degrees past vertical. On a clock face, with noon being perfectly upright, the correct finish sits at roughly the 1-o'clock position - going past the 2-o'clock position is excessive layback.
Excessive layback compresses the lumbar spine in extension while the arms are still under load, and it forces the upper back and neck forward to compensate. Rowers who over-lean are usually trying to generate power through momentum rather than leg drive, which links directly back to Mistake 1.
Fix: Video yourself from the side during a moderate-intensity row. If the torso consistently reaches or passes the 2-o'clock position at the finish, over-extension is present. Aim to feel a light brace of the abdominals at the finish - this naturally limits how far back the torso goes.
Mistake 5 - Bending Your Knees Too Early in the Recovery
The recovery phase sets up every subsequent catch, yet it rarely gets discussed when listing common rowing machine mistakes. The recovery sequence must follow this exact order: arms extend first, then the body hinges forward, then the knees bend. If the knees shoot up before the arms and body have moved forward, the handle path is blocked, forcing an awkward detour around the knees that breaks rhythm and wastes time.
Early knee bend is especially common when rushing the stroke rate or when fatigued. It is less painful than other errors but one of the most efficiency-destroying habits on the machine.
Fix: A reliable cue is "push the hands away before you fold your knees." At the finish, extend both arms fully until straight and past the knees before allowing them to rise. The body follows the hands, and the knees follow the body.
Signs that early knee bend is occurring in your stroke:
- Handle has to go around your knees rather than above them on the recovery
- A clunking or rhythm break as the seat and handle compete for space
- Noticeably slower recovery speed despite trying to maintain stroke rate
Machine Setup Errors Behind Many Common Rowing Machine Mistakes
Many common rowing machine mistakes have nothing to do with technique and everything to do with how the machine is configured before the first stroke. These two setup errors are frequent enough that correcting them alone can transform how a session feels within minutes. Home rowers who need to plan around limited space should know that the best compact rowing machine and best foldable rowing machine options both offer the same full-length stroke as standard models while being significantly easier to store.
Mistake 6 - Setting the Damper Too High
The damper lever on a Concept 2 rowing machine runs from 1 to 10, and the near-universal assumption is that setting 10 produces the hardest workout. That is incorrect. The damper controls airflow into the flywheel, which determines the drag factor - the actual resistance the fan creates per stroke. A higher damper makes each stroke feel heavier and slower, similar to rowing through thicker water. I compare air, magnetic, water, and hydraulic resistance when explaining which type of rowing machine to choose.
A research evaluation of the Concept 2 rowing machine ergometer found that the first five strokes significantly underestimate power output by 10-70% before the flywheel reaches steady state, and that irregular strokes - a common result of an overly high damper - substantially increase measurement error (4). In practice, a high damper means smooth, powerful strokes are impossible, and the session degrades into a grinding slog that looks intense but produces less cardiovascular benefit than a lighter, faster row.
The drag factor, not the damper number, is the meaningful metric. Concept 2 recommends a drag factor of 115-140 for most trained rowers, which corresponds roughly to damper 3-5 on a well-maintained machine. I explain how to pick the right resistance for a rowing machine in a separate guide.
Fix: Set the damper between 3 and 5 for your next session. On a Concept 2 rowing machine, check the drag factor through the Performance Monitor under "More Options." Adjust until the drag factor sits in the 115-140 range. Most beginners discover this feels easier and that their stroke rate and form both improve immediately.
Mistake 7 - Incorrect Foot Position and Strap Placement
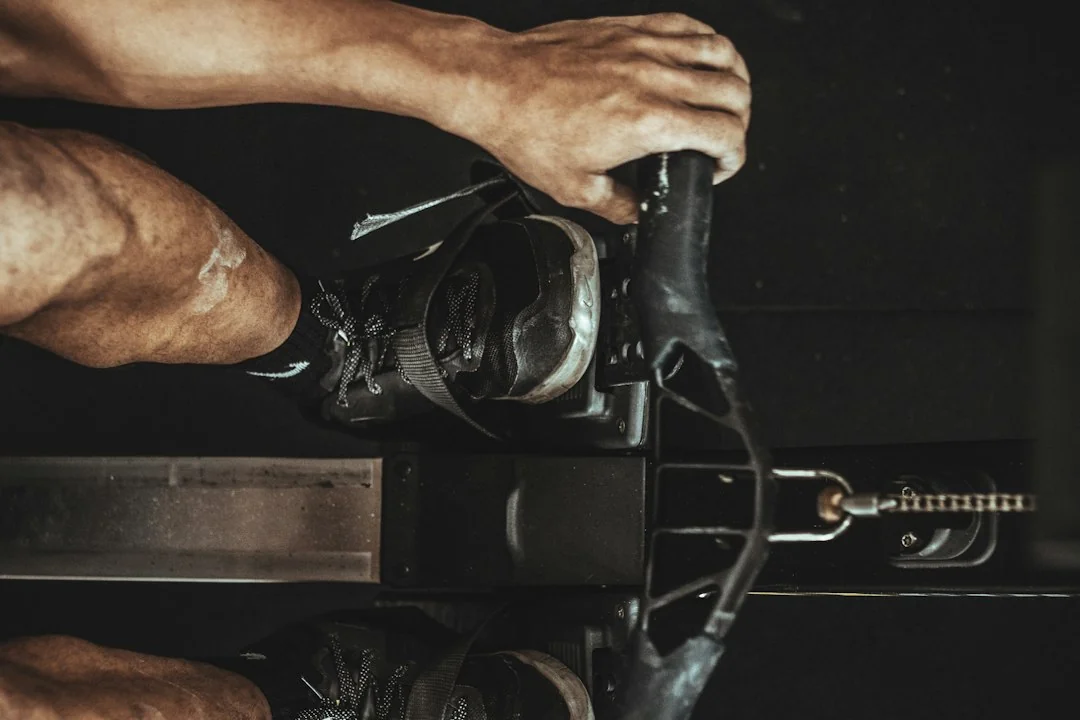
The foot strap should cross the widest part of the foot - the ball of the foot, just below the base of the toes. Many rowers position the strap too far up the arch or near the ankle, which reduces power transfer from the legs and limits ankle range of motion at the catch. Incorrect foot placement also shifts load onto the knee, contributing to the kneecap discomfort some rowers report after longer sessions.
The footstretcher height also matters. Too high and the shins are past vertical at the catch, reducing quad engagement. Too low and the knees rise above the handle at the catch, creating a cramped and inefficient position.
Fix: Sit at the catch position with arms extended. Your shins should be vertical - or very close to it. If shins angle toward you at the catch, the footstretcher is too low. If they are past vertical, it is too high. Adjust until the shin angle at the catch is approximately 90 degrees relative to the seat rail.
Setup Element | Common Error | Correct Setting | Consequence of Error |
Damper | Set to high numbers - near-universal assumption is 10 is hardest | Damper 3-5; drag factor 115-140 | Grinding strokes; less cardiovascular benefit than a lighter, faster row |
Foot strap position | Placed at arch or near ankle | Across the ball of the foot, below base of toes | Reduced power transfer, limited ankle range of motion, shifted load onto the knee |
Footstretcher height | Too high or too low | Shin vertical at catch, approximately 90 degrees to the seat rail | Too high reduces quad engagement; too low raises knees above handle for a cramped, inefficient position |
Technique Habits That Create Pain and Limit Progress
Many rowing machine mistakes are small habits in grip tension, shoulder mechanics, and breathing that compound across weeks of training. Grip tension, shoulder mechanics, and breathing all affect how efficiently oxygen reaches working muscles and how much cumulative stress builds in the joints. These corrections are quick to apply but are often the last things rowers address.
Rowing is also one of the most effective tools for body composition change when technique is clean. Reviewing what rowing does to your body with realistic before-and-after context helps set expectations before committing to a training schedule.
Mistake 8 - Gripping the Handle Too Hard
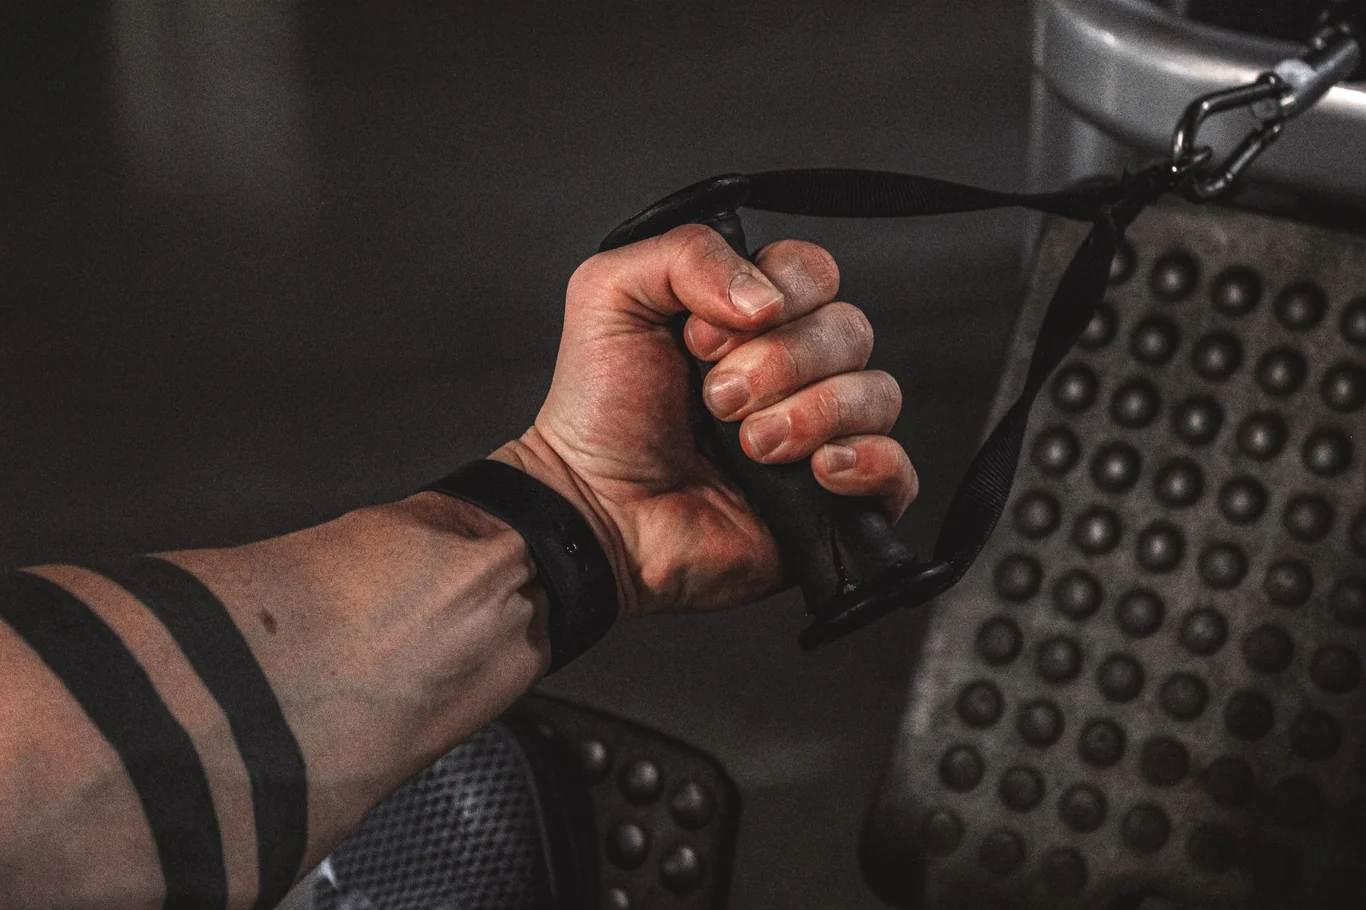
White-knuckling the handle is a common reflex, especially at higher intensities. A tight grip activates forearm flexors unnecessarily, causes fatigue in the wrists and forearms well before the cardiovascular system is challenged, and sends tension directly into the shoulders and traps. The handle should be held with a relaxed hook grip: fingers curl over the bar, thumb wraps underneath, wrists stay flat and neutral.
I compare it to holding a grocery bag lightly enough that it will not slip, rather than squeezing a resistance band. Tight grip can also create wrist extension during the pull, placing the tendons under repetitive load in a compromised position. Once rowers release the grip tension, shoulder and neck tightness drops within a few strokes.
Fix: At the catch, consciously open your hands, rewrap the fingers loosely, and check that wrists are flat. The handle should feel like it could slide if you fully relaxed - not that it would. Repeat this check during every warm-up row until it becomes automatic.
Mistake 9 - Shrugging Your Shoulders During the Pull
Shoulder shrugging is almost always a compensation for Mistake 8. When grip tension is high, the trapezius and levator scapulae activate to stabilize the shoulder girdle, pulling the shoulders toward the ears. This shifts the pulling load away from the lats and rhomboids - the muscles intended to drive the pull - and into the neck and upper traps. A related fault is elbow flare: when the shoulders have already risen, the elbows tend to splay wide at the finish rather than tracking back and down, which reduces lat engagement further.
The shoulders should be depressed and lightly retracted before and throughout the drive phase, acting as a stable platform for the arm pull rather than an active mover. If you notice trap soreness after rowing sessions, this mistake is almost certainly contributing.
Fix: Before each drive, consciously depress your shoulder blades as if tucking them toward your back pockets. Think about leading the elbow back and down rather than pulling the handle up - this prevents both shoulder rise and elbow flare simultaneously.
Mistake 10 - Holding Your Breath or Breathing Out of Sync
Breathing errors are among the most overlooked rowing machine mistakes, yet they directly limit how long sustainable effort can be maintained. Holding the breath during the drive phase increases intra-abdominal pressure, disrupts oxygen delivery to working muscles, and accelerates the onset of fatigue. Many rowers hold their breath on the hardest part of the stroke, which is exactly when oxygen demand peaks.
The correct breathing rhythm for rowing:
- Inhale during the recovery phase as you glide toward the flywheel - 1-2 counts
- Brief natural pause at the catch with the lungs neither fully inflated nor fully empty
- Exhale steadily through the entire drive phase as you push and pull away
At higher intensities, breathing every stroke is appropriate. At steady-state intensities, breathing every two strokes - inhale on one recovery, exhale across the next drive - is acceptable. Never hold the breath across more than one full stroke.
Rowing Machine Workout and Programming Errors
The final two rowing machine mistakes fall under workout design rather than stroke mechanics, but they are just as limiting. Rowing machine workouts fail when every session is treated like a race, stroke rate targets are ignored, or the warm-up is skipped. Correcting the programming layer is what turns occasional rowing into consistent fitness and body composition progress over time. I give structured sessions in my rowing workout plans for cardio and full body strength.
Understanding whether a rowing machine builds muscle and to what degree helps set expectations for how to program rowing alongside other training.
Mistake 11 - Rowing Too Fast Too Soon
Strokes per minute (SPM) is the most commonly misused number in rowing. The assumption is that more strokes per minute means harder work. At beginner and intermediate levels, this is false. At high stroke rates, the recovery phase shortens, form degrades, and the flywheel does not have time to fully spin up between strokes, reducing power per stroke. More strokes at less power does not equal more total work.
For aerobic steady-state rowing machine workout sessions, the general guidance is:
- Beginners: 18-22 spm, prioritizing form over speed
- Intermediate rowers: 22-26 spm with controlled technique
- Advanced rowers: 26-32 spm in race-pace intervals only
I regularly observe rowers in sports science settings who maintain 30+ spm during steady-state work, producing a jackhammer-style stroke that makes rhythm impossible. Slowing the rate, lengthening the stroke, and increasing the force per stroke raises the power numbers and the cardiovascular stimulus simultaneously.
Fix: Set a deliberate target of 20-22 spm for your next steady-state row. Use the Performance Monitor to count SPM. If the rate creeps above 24, consciously slow the recovery - the slide back toward the flywheel - to extend the time between strokes rather than rushing the catch.
Mistake 12 - Skipping the Warm-Up and Training at Maximum Effort Every Session
This final section covers two closely related rowing machine mistakes: neglecting the warm-up and treating every session as maximum effort. A proper warm-up is 5 minutes at damper 3-4, 18-20 spm, at conversational pace, followed by a matching cool-down. Without it, early strokes carry disproportionate load on joint tissue before the body has been adequately prepared, and the lumbar spine is the first structure to respond. For structured hard sessions, I cover HIIT rowing workout plans in a separate article.
I consider training at maximum effort in every session equally counterproductive for anyone using a rowing machine for weight loss or general fitness. Research on trained rowers found that performance improvements resulted from targeted training interventions and prescribed intensity management rather than constant all-out effort (5). Energy expenditure during a 30-minute moderate session for a 70 kg rower sits in approximately the 250-350 kcal range - a figure that varies considerably by body weight, rowing efficiency, and intensity, as early ergometry data from Hagerman et al. (1978) illustrates. Going harder every session does not linearly increase that number; it increases injury risk instead.
A simple beginner structure that prevents both rowing machine mistakes in this section:
- 5-minute warm-up: damper 3-4, 18-20 spm, easy conversational pace
- 15-20 minutes steady state: damper 3-5, 20-24 spm, moderate effort
- 5-minute cool-down: damper 3-4, 18-20 spm, easy pace
Consistent rowing machine workouts built on this pattern, practiced 3-4 times per week, produce measurable cardiovascular and body composition results without the overtraining signals that come from daily maximum-effort rows. I list the benefits of rowing machine training in a separate article.
Build the Habit Right From the Start
Correcting rowing machine mistakes is significantly easier before they become habits. The technique errors above follow a predictable chain: arm-dominant rowing leads to back rounding, which leads to excessive layback, which combines with early knee bend in recovery. I have watched athletes carry these patterns for months before a single coaching cue changed how the machine felt entirely. If you are picking a machine to learn on, I list rowing machines for beginners that suit new rowers.
Four Rowing Machine Corrections That Produce Immediate Results
Four corrections tend to produce the fastest improvement:
- Set the damper to 3-5 and confirm the drag factor is in the 115-140 range before the first stroke
- Row at 20 spm for your next session regardless of how slow it feels - form cannot be built at high speed
- At every finish, check that your torso is not past the 2-o'clock position
- At every catch, check that both arms are fully straight before the legs begin to drive
If back soreness has been a recurring issue, looking into proper rowing machine maintenance is worth adding alongside form corrections - a worn chain or a damaged footstretcher strap introduces disruptions unrelated to technique. My guide to budget rowing machines covers models with reliable ergonomics for home use. A stairmaster vs rowing machine comparison covers how the cardiovascular and muscular demands differ between the two.
FAQs
Can rowing lower cholesterol?
Rowing can support cholesterol improvements when performed regularly and at sufficient intensity. Regular moderate-to-high-intensity aerobic exercise, including indoor rowing at 3-4 sessions per week, is associated with improvements in lipid profiles in the research literature, though rowing should be viewed as one component of a broader cardiovascular health strategy that includes diet and medical guidance.
How long should I row as a beginner?
A beginner should start with 10-15-minute sessions focused entirely on technique rather than duration or distance. As form becomes consistent across several sessions, session length can increase gradually to 20-30 minutes at moderate pace, with stroke rate kept between 18-22 spm and intensity held at a conversational level.
Is rowing ok for diastasis recti?
Rowing with diastasis recti requires careful management of core pressure, since the drive phase generates significant intra-abdominal load. Many postpartum rowers can return to rowing with modifications - reduced stroke intensity, attention to core bracing technique, and avoidance of excessive layback - but assessment from a pelvic health physiotherapist before resuming rowing is the recommended starting point.
What are the disadvantages of using a rowing machine?
The main disadvantages of using a rowing machine are the learning curve for correct technique and the injury risk associated with poor form, particularly for the lower back and knees. Compared to cycling or walking, rowing demands more technical attention in the early weeks, and it requires a baseline level of hip and hamstring flexibility that some beginners will need to develop before rowing comfortably.
How to use rowing machine?
To use a rowing machine correctly, start at the catch with shins vertical, arms straight, and a neutral spine, then drive through the legs before hinging the hips back and drawing the arms to the lower ribs at the finish. The recovery reverses this sequence: arms extend first, then the body hinges forward, then the knees bend to return to the catch. Each of the 12 mistakes in this guide maps directly onto one or more of these phases, making the stroke sequence the most useful mental anchor for building clean technique.
The information in this article is for educational purposes only and is not a substitute for professional medical advice, diagnosis, or treatment. Consult a qualified healthcare provider before starting any exercise program, especially if you have a history of back, knee, or joint problems.
References
- Nugent FJ, Vinther A, McGregor A, Thornton JS, Wilkie K, Wilson F. The relationship between rowing-related low back pain and rowing biomechanics: a systematic review. Br J Sports Med. 2021;55(11):616-630. doi:10.1136/bjsports-2020-102533.
- Hagerman FC, Connors MC, Gault JA, Hagerman GR, Polinski WJ. Energy expenditure during simulated rowing. J Appl Physiol. 1978;45(1):87-93. doi:10.1152/jappl.1978.45.1.87.
- Ze X, Zhang S, Long X, Zhou P. Risk factors associated with low back pain in rowers: a systematic review and meta-analysis. BMC Sports Sci Med Rehabil. 2025;17:157. doi:10.1186/s13102-025-01153-y.
- Treff G, Mentz L, Mayer B, Winkert K, Engleder T, Steinacker JM. Initial evaluation of the Concept 2 rowing ergometer's accuracy using a motorized test rig. Front Sports Act Living. 2022;3:801617. doi:10.3389/fspor.2021.801617.
- Held S, Rappelt L, Donath L. Acute and chronic performance enhancement in rowing: a network meta-analytical approach on the effects of nutrition and training. Sports Med. 2023;53(6):1137-1159. doi:10.1007/s40279-023-01827-y.