
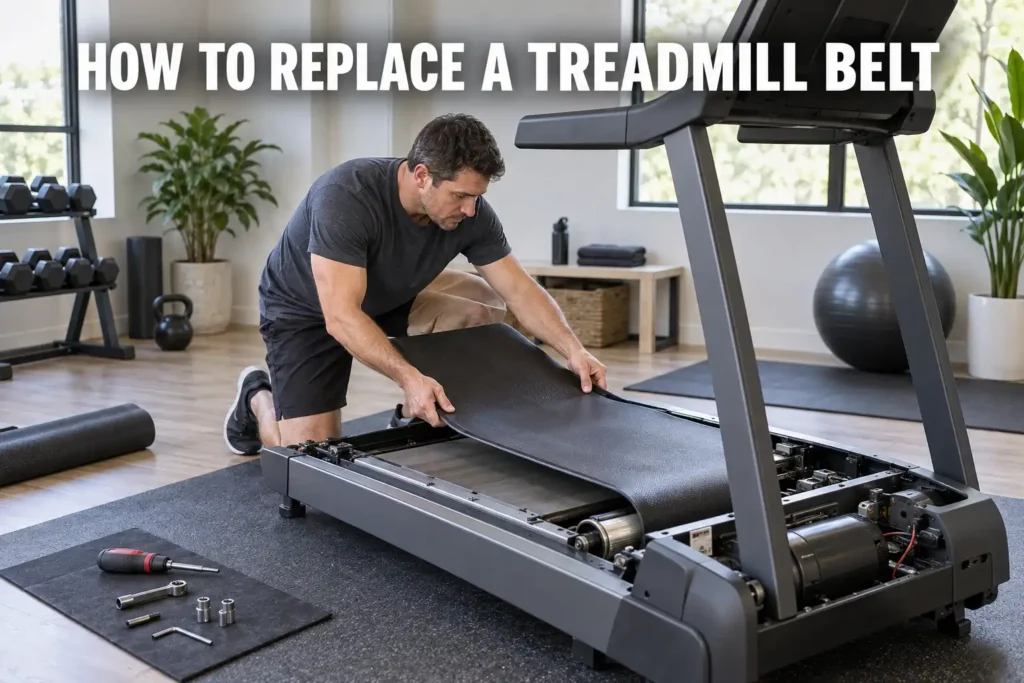
How to replace treadmill belt correctly is one of the most practical maintenance skills a home gym owner can develop. A worn, slipping, or treadmill belt ripped at the seam does not just interrupt your workouts - it accelerates damage to the motor, deck, and rollers, turning a minor repair into one that costs several hundred dollars.
This guide covers the full replacement process - from identifying warning signs to measuring the right belt, threading it onto the rollers, and calibrating tension afterward. I also break down cost comparisons, brand-specific tips for ProForm and LifeSpan machines, and when calling a professional makes more sense than going the DIY route.

How to Replace Treadmill Belt - Step-by-Step Instructions for Any Model
The full how to replace treadmill belt process takes most people between 45 and 90 minutes on a first attempt. Consumer-grade residential treadmills follow the same basic mechanics, so the steps in this guide apply across most machines from ProForm and similar brands with only minor variations.
Before ordering a replacement belt, confirm the belt is actually the source of the problem. A belt that slips under load is often a tension calibration issue rather than a worn-out belt. Replacing the belt when the real problem is a failing deck or motor wastes time and money. If you are evaluating whether to repair or upgrade your machine entirely, our best treadmill for home roundup covers the current field across all major price tiers.
What You Need Before Starting - Tools, Materials, and Safety Steps
Getting organized before you open the machine cuts your total work time significantly. You will need:
- Replacement treadmill belt matched to your specific model number
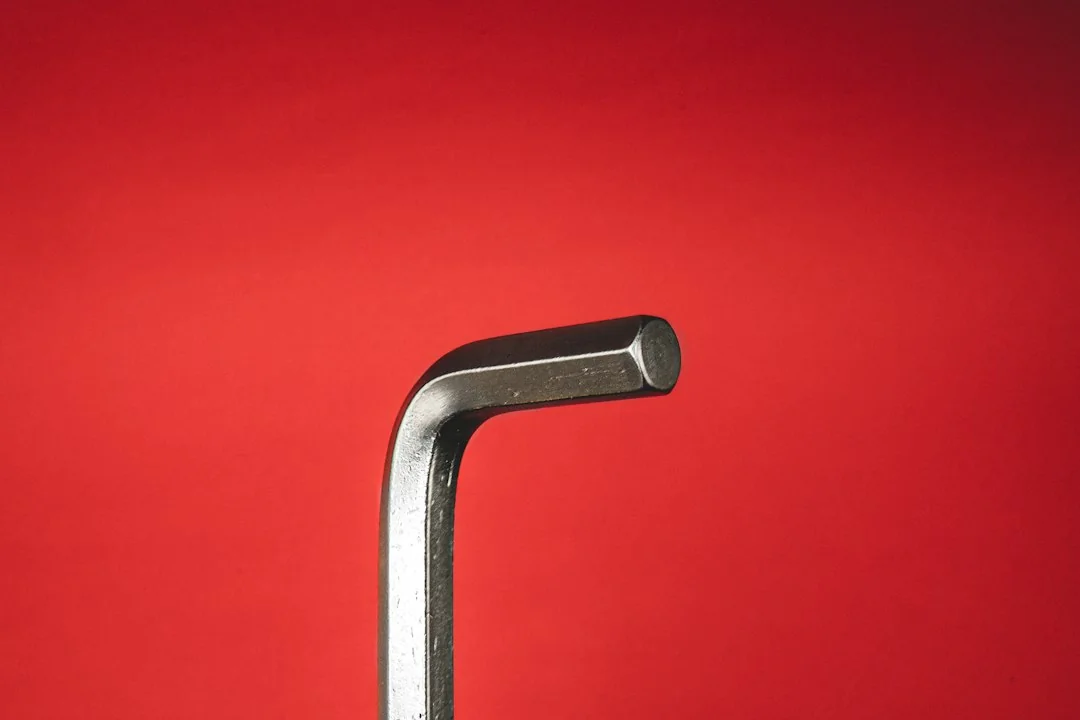
- Allen wrench set (most residential treadmills require 5mm and 6mm keys - check your model's manual as sizes vary by brand)
- Phillips-head screwdriver
- 100% silicone treadmill lubricant (not WD-40 or petroleum-based products)
- A clean, dry rag
- Small container for hardware so bolts do not roll away
- Your treadmill's user manual or a downloaded service guide

Matching the belt to your exact model number is the most important step. A belt that is slightly wrong in width or length will track off-center regardless of how carefully you install it. The model number label is typically on the underside of the frame or inside the motor cover.
Safety steps come before anything else. Work through these in order before touching any internal components:
- Unplug the machine from the wall outlet - not just the power switch. Treadmill motors and their electrical systems carry documented burn and fire hazard risk (5).
- Remove the safety key and set it on a surface across the room.
- Wait 60 seconds after unplugging before opening the motor housing.
- Work on a hard, non-carpeted floor to prevent static discharge from reaching the control board.
Disconnecting the cord takes seconds. Our how to disassemble a treadmill guide covers motor housing removal in more detail for those dealing with complex panel configurations.
Signs Your Treadmill Belt Needs Replacing
Identifying belt wear early prevents secondary component damage. Most belts show multiple warning signs weeks before they fail, giving you time to order a replacement and schedule the repair without a forced machine downtime.
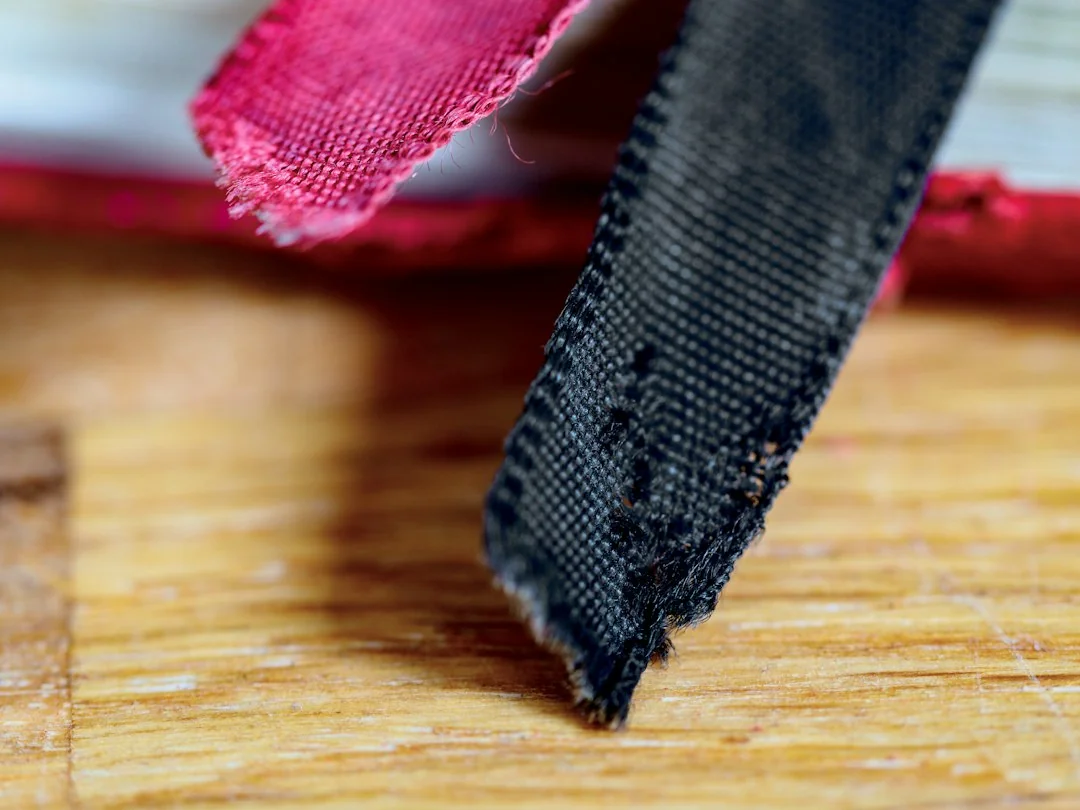
The clearest indicators include:
- Frayed or cracked edges along the sides of the belt, visible when you lift the side of the running surface
- A burning rubber smell during or after use, which signals friction heat from wear or misalignment
- Belt slipping under your weight even after you have already adjusted tension correctly
- A treadmill belt ripped section, visible tear, or bald patch on the running surface
- Glazing on the belt underside - a shiny, polished appearance that develops when the belt runs without sufficient lubrication and heat-fuses against the deck
- Treadmill deck cracked or scored surface visible near the belt seam or motor end
- A jerk or stutter when you first step onto the treadmill at low speed
Glazing is one of the least-recognized warning signs. A glazed belt feels smooth on the top running surface but has lost its friction grip on the deck. Even with perfect tension, a glazed belt will slip and skip under any meaningful load.
If the belt reached this state due to insufficient lubrication, my guide on treadmill belt lubrication covers the correct silicone-only process and how to prevent glazing from recurring.
Technical review of treadmill component characteristics (1) identifies the belt, deck, and rollers as an interdependent system - wear on one accelerates wear on the others. Addressing belt replacement promptly prevents deck and roller damage that makes the total repair significantly more expensive. Our treadmill maintenance guide covers how to prevent belt wear before it reaches replacement stage.
Choosing the Right Replacement Belt - Material, Length, and Fit
Not all replacement belts are equal in quality or compatibility. Selecting the correct belt requires matching three variables: model-specific dimensions, construction layer count, and treadmill belt material.

Treadmill Belt Material and Construction
Consumer treadmill belts use a multi-layer PVC composite with a woven cord reinforcement layer sandwiched between the running surface and the underside. Standard residential belts are 1-ply construction. Higher-end 2-ply belts last longer and run cooler because the thicker construction reduces flex stress and friction heat against the deck surface.
A thicker, higher-quality belt requires less motor effort over time, reducing heat buildup and extending the lifespan of both the motor and the deck surface. If your treadmill sees daily use, upgrading to a 2-ply belt during a scheduled replacement is worthwhile.
Measuring Treadmill Belt Length and Width
To confirm you are ordering the right belt:
- Find the model number label on the underside of the frame near the rear roller
- Search the manufacturer site or a treadmill parts supplier using that exact model number
- If the model-specific belt is unavailable, unroll the old belt flat and measure: total length first, then width at the widest point
- Confirm the dimensions match your deck length and roller span precisely
Treadmill belt length typically runs 50 to 62 inches for residential machines, with widths between 17 and 20 inches for most residential models; commercial and premium machines may reach 22 inches. Even a half-inch discrepancy in width causes tracking problems that no amount of tension adjustment can correct. Our treadmill belt tension guide covers the calibration steps you will use immediately after installation.
When browsing treadmill belt for sale listings on manufacturer portals or fitness parts suppliers, filter by model number rather than dimensions alone - belts listed as "universal fit" or matched only by size often have different reinforcement layers or running surface textures that affect long-term performance.
How to Install Treadmill Belt - The Complete Process
This is the core of the how to install a treadmill belt procedure. Work through each step in order and do not rush the tension calibration at the end - that phase determines whether the installation succeeds or causes secondary damage.
Here is how to change treadmill belt from start to finish:
- Remove the motor cover. Unscrew or unclip the front panel and set all hardware in your container.
- Loosen the rear roller adjustment bolts. Back off each bolt by equal turns - typically 3 to 4 full rotations on each side. This releases tension on the walking belt.
- Before loosening anything further, mark or photograph the rear roller orientation with your phone. Rear rollers on residential machines are often non-symmetric, and restoring the original orientation after installation prevents tracking problems.
- Slide the rear roller backward until the belt is loose enough to lift clear of both rollers.
- Slide the old belt off over the front roller and rear roller simultaneously.
- Inspect the deck surface. Examine the full deck length - including the center path where wear concentrates - for deep scoring, heat discoloration, or a treadmill deck cracked section. If the deck shows significant damage, replace it before installing a new belt; a damaged deck surface will destroy a new belt within weeks.
- Wipe the deck clean with a dry rag, removing belt debris, dust, and old lubricant residue.
- Apply silicone lubricant to the deck. Run two parallel lines down the center of the deck surface, roughly six inches from each side rail. Getting this step right is essential - learning how to lubricate a treadmill correctly at this stage is the single most impactful thing you can do to extend the new belt's lifespan.
- Thread the new belt onto the rollers. Drape it over the front motor roller, then slide the rear roller back into the belt loop. Reinstall the rear roller in the same orientation as marked in step 3.
- Center the belt on the deck. Before tightening anything, confirm equal gaps between the belt edge and each side rail.
- Re-tension the rear roller. Tighten each adjustment bolt one full turn on each side, then test and adjust incrementally.
- Run unloaded at 2 mph. Watch for belt drift left or right. If the belt drifts left, tighten the left bolt a quarter turn. If right, tighten the right bolt a quarter turn. Repeat as needed.
- Test under body weight. Walk at a moderate pace. A correctly installed belt runs smoothly without slipping, jerking, or hesitating under load.
Adjusting Belt Tension and Alignment After Installation
Getting tension right is what separates a successful replacement from one that causes secondary damage. Too little tension and the belt slips. Too much tension and the motor overheats and fails prematurely.
Research on treadmill biomechanics (2) confirms that a motorized treadmill in good working condition produces movement biomechanically comparable to outdoor running. A belt that slips or stutters disrupts that force profile, which matters for anyone using the machine for serious training.
The Hand-Lift Tension Test
Use this field method after every adjustment cycle:
- Stand beside the powered-off treadmill
- Grip the belt at the center of the deck and lift straight up
- The belt should lift 2 to 3 inches - no more and no less
Result | Meaning | Fix |
Belt lifts more than 3 inches | Too loose - will slip under load | Tighten each rear bolt by half a turn |
Belt lifts 2 to 3 inches | Correct tension | No adjustment needed |
Belt lifts less than 1 inch | Too tight - motor will overheat | Loosen each rear bolt by a quarter turn |
Belt will not lift at all | Severely overtightened | Back off bolts two full turns and retest |
I've found the half-turn and test method resolves tracking issues on about 90 percent of residential belt alignments - most drift problems correct within two or three adjustment cycles rather than requiring a full retension from scratch.
After reaching correct tension, run the machine at 2 mph for five minutes before stepping on it. This allows the belt to seat fully on the deck and reveals residual alignment drift before you put body weight on it.
Common Mistakes to Avoid
Most failed DIY belt replacements trace back to one of four errors:
- Overtightening in a single pass - tighten in quarter-turn increments and test between each adjustment
- Using petroleum-based lubricant - petroleum degrades the belt underside and deck surface; silicone only
- Installing the belt in the wrong direction - belts have a running direction marked on the underside; check before threading
- Skipping re-centering before the first test run - an off-center belt will track sideways and fray regardless of tension
Troubleshooting After Installation
If problems appear after the belt is installed, work through these before calling a technician:
- Belt still slips under load - recheck tension; if correct, inspect the deck for glazing that survived the wipe-down step
- Belt tracks to one side - back off both rear bolts two turns, re-center the belt, and re-tension from scratch
- Squeaking under load - reapply silicone lubricant to the deck center; insufficient lubrication is the most common cause
- Belt bunches near the rear roller - the rear roller may be misaligned; remove and reinstall using the photo reference from step 3
Many people who walk backward on a treadmill for low-impact recovery find the wear pattern across the belt becomes more even over time. Our guide on benefits of walking backwards on a treadmill explains the mechanics behind this approach if you want to extend belt life through intentional wear distribution.
Treadmill Belt Replacement Cost - DIY vs. Professional Service
The treadmill belt replacement cost gap between DIY and professional service is substantial. Understanding where the money goes helps you make the right call for your machine and situation.
If you are weighing repair against replacement and want a current price reference, my guide on how much a treadmill costs covers the full range from budget models to commercial machines so you can benchmark repair costs against what a new machine would run.
Cost Item | DIY | Professional Service |
Replacement belt (residential 1-ply) | $30 to $80 | Included in service fee |
Replacement belt (2-ply premium) | $60 to $120 | Included in service fee |
Silicone lubricant | $8 to $20 | Sometimes included |
Labor | $0 (your time, 45 to 90 min) | $100 to $250 |
Total (residential machine) | $38 to $140 | $150 to $400 |
DIY replacement typically costs 60 to 70 percent less than professional service. The primary risk is improper tension calibration, which can shorten belt life or damage the motor if the belt runs too tight. ProForm treadmill belt replacement cost falls within the standard DIY range - expect to pay $40 to $90 for a model-matched ProForm belt from the iFIT parts portal or authorized suppliers. Compare repair costs against current machine prices before ordering parts to confirm the investment makes sense.
If you are weighing repair costs against a new machine, our best folding treadmill guide covers models built with higher-quality belt and deck assemblies that require less frequent maintenance.
Treadmill Belt Repair Kit vs. Full Replacement - When Patching Makes Sense
Knowing how to fix a treadmill belt issue starts with correctly diagnosing whether the problem is tension, lubrication, or the belt material itself - patching a belt that needs replacement creates a safety risk. A treadmill belt repair kit is a short-term measure, not a permanent fix. These kits include adhesive patch material and treadmill belt repair tape designed to cover minor surface tears and lightly frayed edge sections.

Repair tape works only when the tear is shorter than two inches and the belt's cord reinforcement layer is still fully intact. Once the underlying cord layer is exposed or damaged, the belt can split under body weight - a safety risk no patch kit can reliably prevent.
The one scenario where a repair kit makes clear financial sense: you need the treadmill functional for a few more weeks while waiting for a replacement belt to ship. For any belt that is significantly worn, glazed, or fraying across more than an inch of its edge, full replacement is the only appropriate path.
How Long Does a Treadmill Belt Last - Usage, Wear, and Extension Tips
Most manufacturers estimate how long does a treadmill belt last at three to five years under moderate residential use - roughly three to four sessions per week at moderate speed. Heavy use, skipped lubrication, and consistent high-incline running each cut that estimate significantly. Under-desk models used for light daily walking typically outlast that range; our best under-desk treadmill roundup covers machines built with low-maintenance belt systems.

Research on home fitness equipment habits (3) found that habitual exercisers maintain consistent workout frequency even under significant stress, suggesting regular users accumulate substantially more machine hours over time than occasional users. For a daily-use treadmill, belt inspection every 12 to 18 months makes practical sense rather than waiting for the three-year mark.
The factors that shorten belt life most consistently:
- Insufficient lubrication - friction heat degrades the belt underside and the deck surface simultaneously
- Consistent high-incline sessions at 10 to 15 percent grade increase belt tension and motor load substantially
- Heavy user body weight combined with high-speed running concentrates wear in the center belt path
- Moisture exposure from outdoor humidity or an unventilated space
- Chronic belt misalignment that runs the edge against the side rail, causing progressive fraying
Tracking your total treadmill hours is the most reliable way to predict when the next inspection or replacement is due. The number of belt revolutions correlates directly to wear rate, which is why our how many steps in a mile on a treadmill guide is a useful calculation reference for estimating accumulated belt stress.
A straightforward maintenance schedule to maximize belt lifespan:
Usage Frequency | Lubrication Interval | Belt Inspection |
1 to 2 sessions per week | Every 6 months | Annually |
3 to 4 sessions per week | Every 3 months | Every 6 months |
Daily use | Every 6 to 8 weeks | Every 3 months |
Commercial or shared household | Monthly | Every 3 months |
ProForm and LifeSpan Belt Replacement - Brand-Specific Differences
The general steps above apply to nearly all residential treadmills. ProForm and LifeSpan machines have specific quirks that are worth knowing before you start.

ProForm Treadmill Belt Replacement
For treadmill belt replacement ProForm sources, the iFIT parts portal is the most reliable option - using your exact model number filters out incompatible belts that share similar dimensions but differ in reinforcement layer or surface texture.
ProForm treadmill belt replacement follows the standard process with two brand-specific differences worth noting:
- Motor cover attachment: ProForm motor covers on most models are secured with screws - typically hex bolts removed with an Allen wrench. Some models also have secondary plastic retaining clips underneath the screws. Check your model's manual before applying lateral pressure to the cover.
- Model-specific belt codes: ProForm belts are not interchangeable with other iFIT-branded treadmills despite the shared parent company and component overlap - always match your replacement to the specific ProForm model number on the frame label.
ProForm treadmill belt adjustment uses the same rear-roller Allen wrench system described above. The tension calibration steps apply without modification. Many current ProForm models also support Bluetooth connectivity for fitness app pairing - once your belt is replaced and the machine is running correctly, our guide on what does a smartwatch do covers how to pair wearables with your treadmill session for more precise tracking.
LifeSpan Treadmill Belt Replacement
LifeSpan treadmill belt replacement differs primarily in deck construction. Several LifeSpan models use a reversible deck design, meaning when one side develops significant wear, you flip the deck before installing a new belt. This doubles the deck lifespan and substantially delays the need for a combined deck-plus-belt replacement.
Check the underside of your LifeSpan deck for markings like "Side A" or "Side B." If the marking is present and the deck is unflipped, flip to the fresh side before installing the new belt. If both sides are marked as used, replace the deck along with the belt.
When to Call a Professional Instead of Going DIY
Most home gym owners can handle a straightforward belt replacement using the steps above. There are specific situations where professional service is the more practical choice:
- Motor problems are present alongside belt wear - grinding noises, inconsistent speed, or a burning smell from the front compartment mean replacing the belt alone will not solve the underlying issue
- The deck is deeply cracked or shows significant scoring - full deck replacement involves more disassembly than most DIY users want to manage
- The machine is within warranty - some manufacturer warranties are voided by DIY belt replacement; confirm your terms before opening the housing
- The treadmill is a commercial machine - commercial units run at higher tension specifications and heavier load tolerances, where improper installation creates greater risk
- The replacing treadmill drive belt - the motor drive belt connecting the motor pulley to the front roller - is also worn; this is a separate component from the walking belt and requires deeper motor compartment access
Searching "treadmill belt replacement near me" surfaces local fitness equipment repair shops and authorized service centers - useful when the repair involves motor access, warranty terms, or a commercial machine where precision installation matters more than cost savings.
A technician who diagnoses both the walking belt and the motor drive belt during the same call is generally giving you correct advice. These two belts wear at different rates, but a machine with many hours on it often needs both replaced in the same service window. Our how much does a treadmill weigh guide provides useful context for the logistics of moving an older machine out if you ultimately decide replacement is the better path.
Keeping Your Treadmill Running for Years
A correctly installed and maintained treadmill belt is the difference between a machine that lasts a decade and one that needs replacement within three years. The replacement process is manageable for most home gym owners - the critical variables are buying the right belt for your exact model, cleaning and lubricating the deck before installation, and calibrating tension gradually rather than in a single aggressive pass.
For a detailed walkthrough of the correct lubricant type, application method, and how often the deck needs attention, my guide on how to lubricate a treadmill covers everything from belt removal to the break-in period after application.
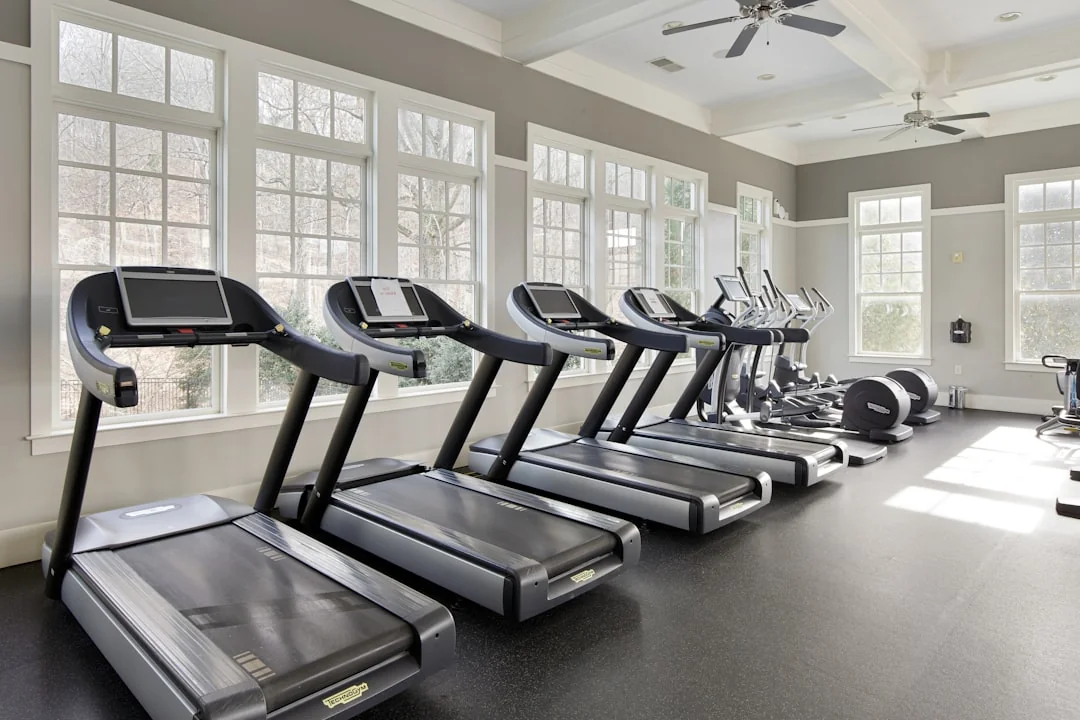
I consistently see the same three mistakes in DIY belt replacements: ordering by approximate dimensions rather than the model number, skipping the lubrication step entirely, and overtightening the rear roller bolts in one session. Getting those three points right makes the installation succeed in the vast majority of cases.
Rear access is one of those points - planning the right clearance before the machine is installed makes belt work far more manageable; my treadmill dimensions guide covers the minimum clearance requirements for every setup type.
Research on running cadence and biomechanics (4) identifies vertical ground reaction forces as a primary driver of lower limb loading at the knee and ankle under repeated effort. A belt that slips or causes stride disruption forces real-time gait adjustments that shift these forces in ways that accumulate over repeated sessions.
If your current machine is beyond economical repair, our best incline treadmill guide covers machines built with higher-quality belt and deck assemblies across all major price categories.
FAQs
Can I replace a treadmill belt myself?
Replacing a treadmill belt is a task most home gym owners can complete successfully with basic tools, including an Allen wrench set and a Phillips screwdriver. The process typically takes 45 to 90 minutes on a first attempt and becomes faster with experience.
How much does it cost to replace a treadmill belt?
The cost of replacing a treadmill belt ranges from $38 to $140 for a DIY replacement, covering the belt itself ($30 to $120 depending on quality) plus silicone lubricant. Professional treadmill belt replacement service typically costs $150 to $400 including both labor and parts.
Is it cheaper to fix or replace a treadmill?
A treadmill is generally worth repairing when the total repair cost is less than 50 percent of a comparable replacement machine's current price. Belt replacement alone is almost always cost-effective, but combined motor, deck, and belt failures on an older machine often push total repair costs past that threshold.
To estimate how many useful years remain on your machine before major repairs become the norm, my guide on how long treadmills last covers the typical lifespan across budget, mid-range, and commercial models.
How to put the belt back on a treadmill?
To put the belt back on a treadmill, loosen the rear roller adjustment bolts to create slack, drape the new belt over the front motor roller, and slide the rear roller back into the belt loop. Center the belt with equal gaps on both sides before tightening anything. Then tighten both rear roller bolts in equal quarter-turn increments until the belt passes the hand-lift test - two to three inches of lift at center deck.
How to replace treadmill belt proform?
ProForm treadmill belt replacement follows the same process as most brands - loosen the rear roller, slide off the old belt, clean and lubricate the deck, thread the new belt, and calibrate tension with the Allen wrench. The key ProForm-specific differences are that the motor cover is secured with screws rather than snap clips, and the replacement belt must match your exact ProForm model number rather than just the physical dimensions.
References
- Capodaglio P, Vercelli S, Colombo R, et al. Treadmills in rehabilitation medicine: technical characteristics and selection criteria. G Ital Med Lav Ergon. 2008;30(4):396-403.
- Van Hooren B, Fuller JT, Buckley JD, Miller JR, Bishop C, Willy RW. Is motorized treadmill running biomechanically comparable to overground running? A systematic review and meta-analysis of cross-over studies. Sports Medicine. 2019;49(12):1723-1733. doi:10.1007/s40279-019-01237-z
- Schneider M, Woodworth A, Mehrabadi MA. The relationship between exercise habits and stress among individuals with access to internet-connected home fitness equipment: single-group prospective analysis. JMIR Formative Research. 2023;7(1):e41877. doi:10.2196/41877
- Figueiredo I, Reis e Silva M, Sousa JE. The influence of running cadence on biomechanics and injury prevention: a systematic review. Cureus. 2025;17(8):e90322. doi:10.7759/cureus.90322
- U.S. Consumer Product Safety Commission. CPSC warns consumers to stop using Sperax walking pads and treadmills immediately due to risk of serious injury from fall, burn and fire hazards. CPSC.gov. 2026. https://www.cpsc.gov/Warnings/2026/CPSC-Warns-Consumers-to-Stop-Using-Sperax-Walking-Pads-and-Treadmills-Immediately-Due-to-Risk-of-Serious-Injury-from-Fall-Burn-and-Fire-Hazards