
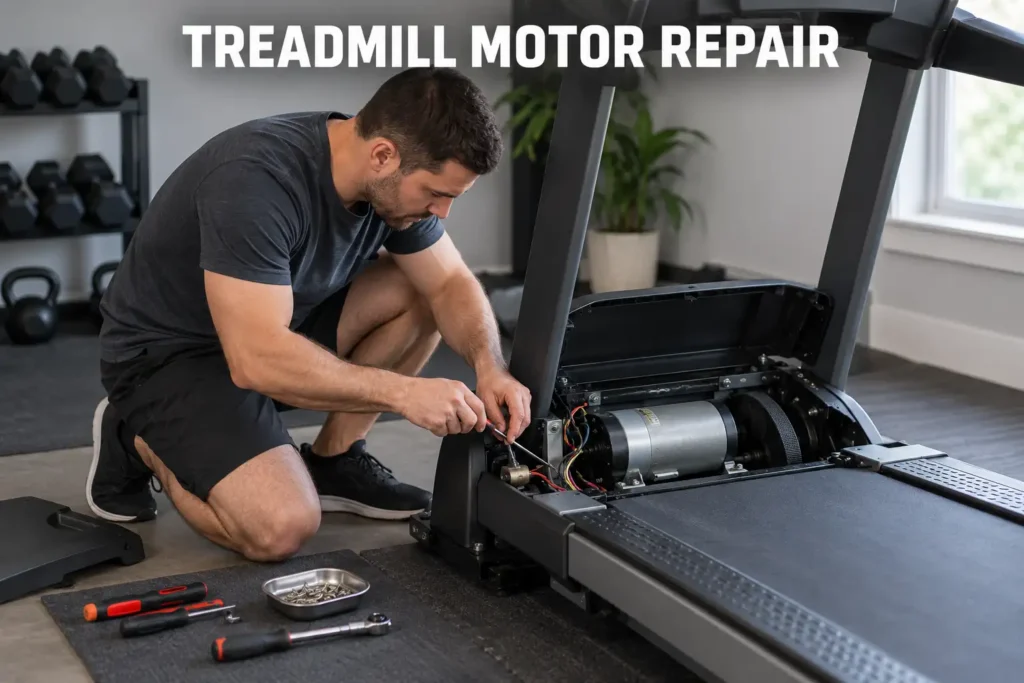
Fixing treadmill motor failures, power outages, and persistent squeaks at home is more manageable than most owners expect when you know where to start. A display that refuses to power on, a grinding noise that returns every session, and a motor that trips the thermal breaker mid-workout are all symptoms of common, fixable problems. This guide covers every major issue: no-power diagnosis, motor overheating, noise troubleshooting, brush replacement, and the repair-versus-replace decision. A properly functioning machine matters for training quality, since research on treadmill mechanics suggests that equipment configuration influences muscle activation patterns during exercise (1). This guide is for informational and educational purposes only; always consult a qualified technician before performing electrical work on your treadmill.

Fixing Treadmill Motor Problems - How to Diagnose the Real Issue
Before touching any component, you need to match your symptom to a likely cause. Misdiagnosing a control board failure as a motor failure leads to expensive, unnecessary replacement. I have found that working through a structured symptom table saves significant diagnostic time compared to testing components at random. Start here before spending money on parts.
If your symptom mapping points to a worn or slipping belt rather than a motor fault, the treadmill belt replacement guide covers how to confirm the issue and complete the swap before escalating to motor testing.
Safety Precautions Before Any Hands-On Repair
Every treadmill repair - including fixing treadmill motor components - requires these precautions first:
- Unplug the machine from the wall and wait at least two minutes for residual charge in the capacitors to discharge
- Remove the safety key to prevent accidental startup during any physical inspection
- Never perform repairs with the machine powered on - treadmill motors operate at voltages that cause serious injury
- Keep a dry environment: do not work on a machine that has been moved from a cold space into a warm room until condensation has cleared
Research on maintenance practices suggests that structured maintenance schedules are associated with fewer unplanned equipment failures compared to reactive repair approaches (2). Treating these precautions as a repeatable checklist protects both the person doing the repair and the machine. For a complete preventive schedule that extends motor life, our treadmill maintenance guide covers these preventive steps in more detail.
Symptom-to-Cause Diagnostic Table
Symptom | Most Likely Cause | First Action |
No display, no belt movement | Safety key, outlet, or tripped breaker | Reseat safety key, test outlet |
Belt moves but motor cuts out | Motor overheating, thermal cutoff | Unplug, cool 30 minutes, clean vents |
Squeaking or grinding noise | Dry belt, misaligned belt, worn bearings | Apply silicone lubricant, check tension |
Speed fluctuates or belt slips | Loose belt or worn motor brushes | Adjust belt tension, inspect brushes |
Burning smell during use | Motor overheating or belt friction | Stop immediately, unplug, inspect |
Console shows error code | Control board or sensor fault | Note the code, consult brand manual |
Machine vibrates abnormally | Belt misalignment or roller wear | Re-center belt, inspect rollers |
Treadmill Has No Power - Step-by-Step Troubleshooting
Treadmill troubleshooting for a completely unresponsive machine - no lights, no console activity, nothing - follows a logical sequence you can complete without specialist tools. Work through these steps before concluding that fixing treadmill motor components is necessary, because the motor itself is rarely the cause of a total no-power situation.
Check the Safety Key First
The safety key is the single most common reason a treadmill appears completely dead. Most machines use a magnetic clip that attaches to the console; if it is missing, misaligned, or corroded at the contact points, the machine will not respond at all. In my experience, this simple fix resolves the problem for nearly half of owners who describe their machine as broken.
Remove the key, wipe both the key and the contact points with a dry cloth, and reseat it firmly. If your safety key is missing, your brand's customer service sells replacements online for under $20. Always try this before any other diagnosis step.
Test the Power Cord and Circuit Breaker
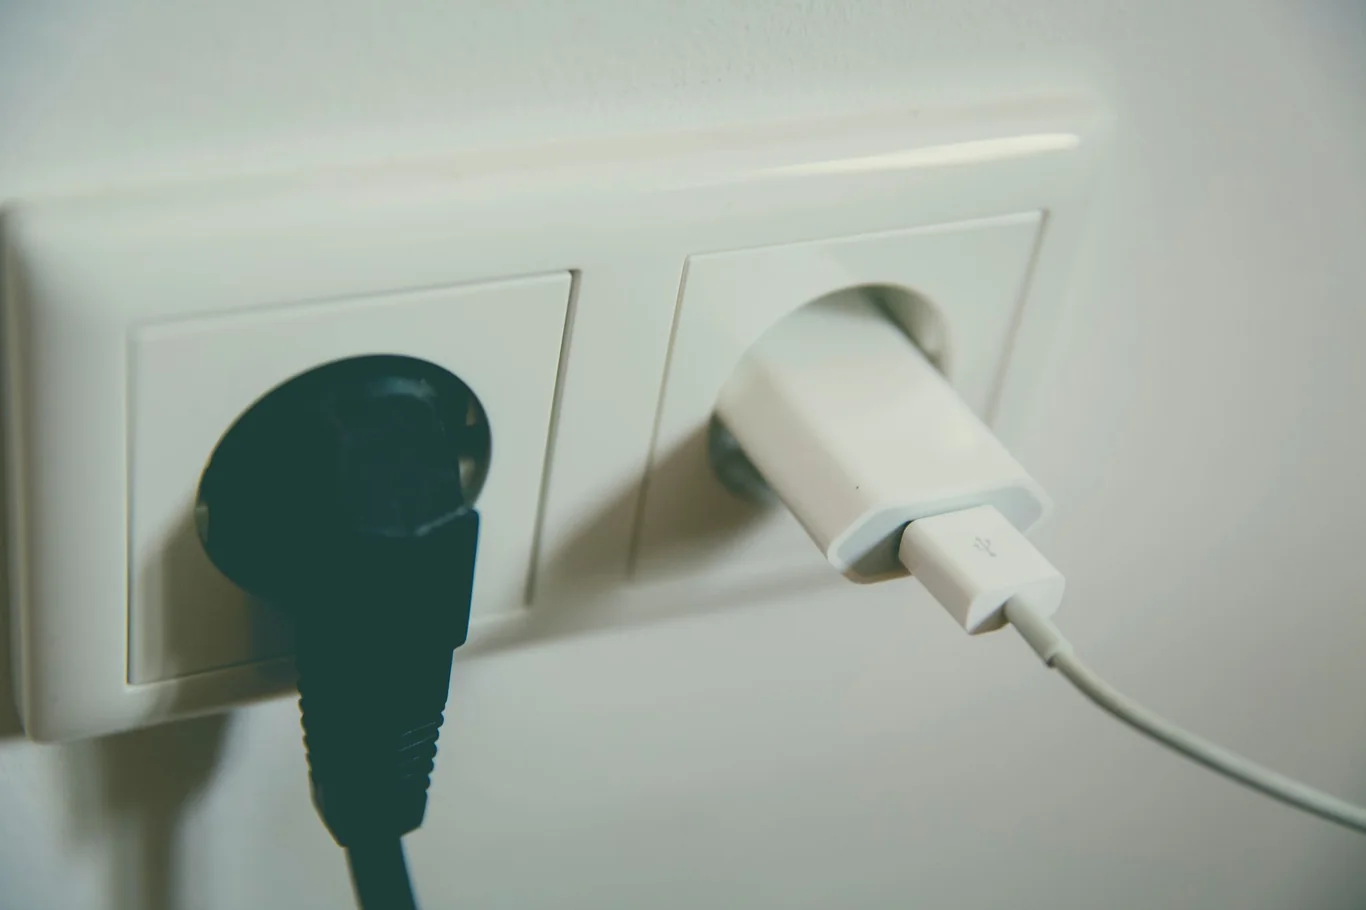
Test the wall outlet using a phone charger or lamp to confirm it delivers power. Plug the treadmill directly into a wall socket rather than a surge protector or extension cord - many machines draw enough current to trip the protection in standard power strips, which causes a treadmill no power situation that looks like a hardware failure.
Inspect the power cord along its full length for kinks, cuts, or frayed insulation. A damaged cord is a safety hazard beyond just being a repair issue. Many treadmills also have a built-in circuit breaker, typically a small reset button on the base frame near the power cord - press it firmly and test again. If the machine powers on but the belt will not start, a failing speed sensor can also prevent the motor from engaging even when it is otherwise functional.
Inspect the Motor Control Board
If the safety key, outlet, and power cord all check out, the next suspect is the motor control board, sometimes called the drive board or motor controller. Some older machines ship the drive board and motor as a combined treadmill motor with controller assembly, meaning repair on those units requires replacing both components together. This board converts incoming AC power to DC voltage and sends speed signals to the motor. Look for visible burn marks, swollen capacitors, or scorch odors near the board - these signs confirm the board has failed.
A replacement control board typically costs $80 to $200 depending on brand and model. Replacement boards for NordicTrack, ProForm, and Sole machines are available through specialty parts retailers, which often stock brand-specific components. If no board damage is visible, a multimeter test of the board's output terminals confirms whether it is delivering voltage. When the board is confirmed dead and the machine is otherwise aging poorly, consider whether repair is worth the cost - our best treadmill for home guide covers the top-rated replacement options across price tiers.
Treadmill Motor Overheating - Causes, Signs, and Fixes
Fixing treadmill motor overheating is one of the most common issues you will encounter on a home machine. Most motors include a thermal protection cutout that trips automatically when internal temperature exceeds a safe threshold. The frustration is that owners often assume motor failure when the machine has simply gone into thermal protection - and the fix is resting and cleaning, not replacing.
Common Causes of Motor Overheating
Research on motor thermal management suggests that obstructed airflow is a leading contributor to thermal stress in electric motors, with significant temperature rises identified as precursors to winding damage (3). In a home treadmill, this translates to the following causes:
- Dust and debris buildup inside the motor compartment blocks ventilation and traps heat against the motor windings
- Excessive continuous use beyond the machine's rated duty cycle, typically 60 minutes without a rest period for most home motors
- A belt that is too tight increases friction against the deck, forcing the motor to work harder than its thermal design allows
- Insufficient deck lubrication raises drag and heat output the same way as an overtight belt
- Poor room ventilation - machines placed in small closets or poorly ventilated basements overheat more frequently regardless of usage habits
I have seen dust-clogged motor compartments cause thermal shutdowns in under 12 months of regular use when the machine is placed in a garage with no ventilation plan. The fix is always the same: clean the compartment and improve airflow before attempting any replacement.
Machines placed on carpet face this problem at an accelerated rate, since carpet fibers feed directly into the motor housing during operation - my guide to running a treadmill on carpet covers the mat setup and ventilation steps that prevent this specific failure mode.
Motor ventilation depends directly on front clearance - my treadmill dimensions and clearance guide covers the minimum 24-inch front zone that prevents this problem, along with side and rear requirements.
How to Cool and Prevent Overheating Long-Term
When a machine shuts down from overheating, unplug it and rest it for at least 20 to 30 minutes before attempting a restart. Restarting a thermally protected motor too soon simply trips the cutout again.
For long-term prevention, follow this sequence:
- Clean the motor compartment every three months using compressed air directed through the ventilation slots on the motor cover
- Apply silicone-based deck lubricant every three to six months to reduce belt-deck friction and motor drag
- Keep the machine at least 18 inches from walls to allow airflow around the motor housing
- Limit continuous sessions to under 60 minutes on home motors and allow a 15-minute rest between back-to-back workouts
- Inspect the belt tension monthly - a correctly tensioned belt lifts about one inch off the deck at the midpoint
Research on maintenance prioritization suggests that a structured, priority-based approach to preventive care - focusing attention on the highest-risk components - may reduce the frequency of unplanned failures (4).
Why Is My Treadmill Squeaking - Diagnosing Noise Problems
A squeaking or grinding sound has a distinct character depending on its source. A rhythmic squeak that matches belt rotation frequency points to the belt or deck surface; a constant grind or whine points to rollers or bearings. Identifying which type you hear narrows the repair to the right component before you order any parts.
Belt Lubrication and Tension
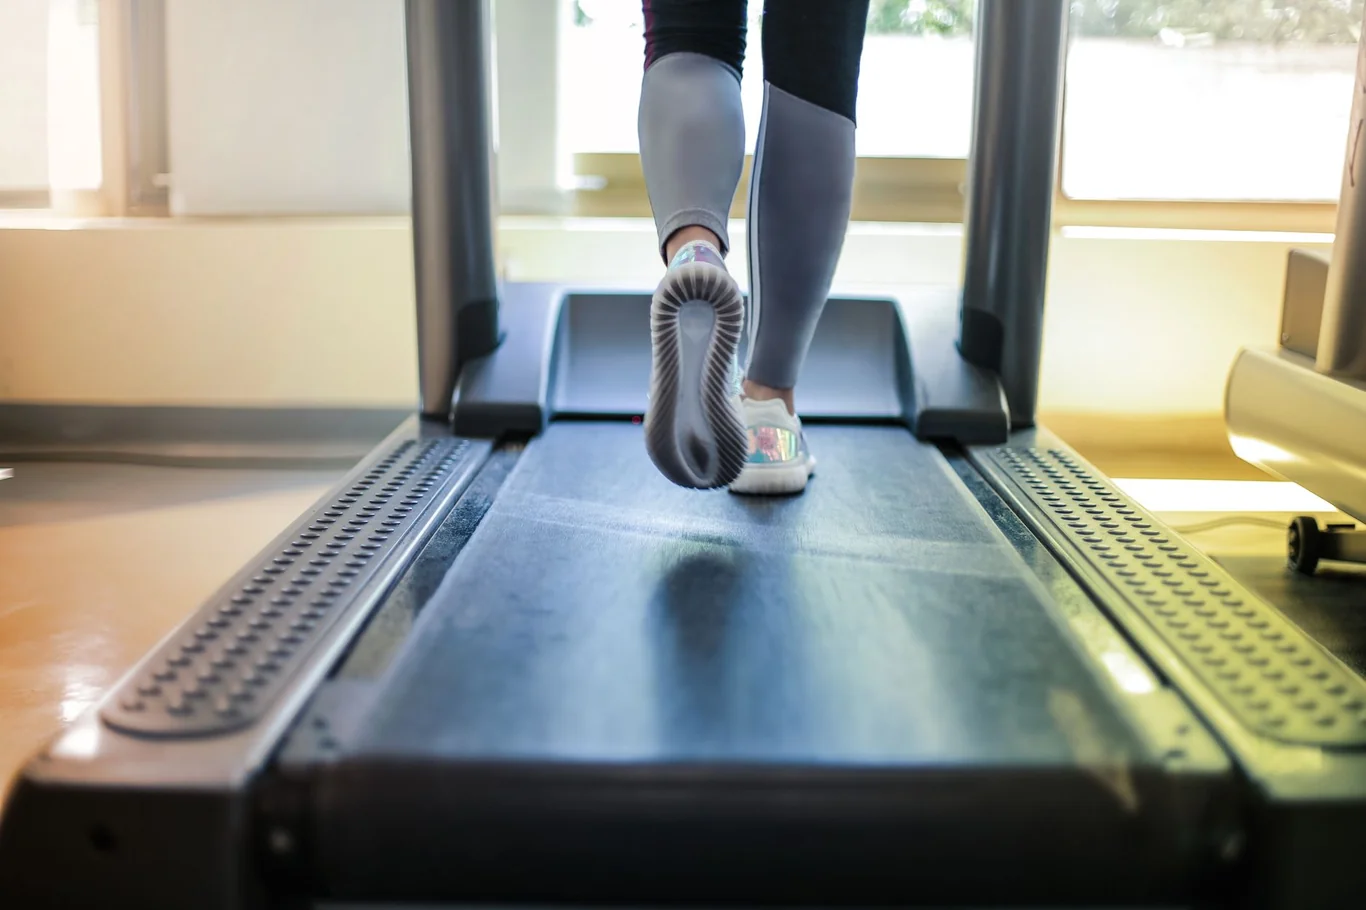
The most common reason a treadmill is squeaking is insufficient lubrication between the belt and the deck surface. Silicone-based lubricant is the correct product for virtually all modern treadmills - petroleum-based products degrade belt rubber over time and should never be used. To apply lubricant, loosen the belt slightly at the rear roller bolts, lift the belt edge, and apply a thin line down the center of the deck. Retighten the belt, then run the machine at slow speed for two minutes to distribute the lubricant evenly.
For a complete walkthrough of the full lubrication process including frequency, product selection, and the no-lift spray method, my guide on lubricating a treadmill belt covers each step in detail.
Belt tension is the second most common cause of squeaking. A belt that is too loose slips against the deck and squeaks under load, especially on inclines. I find the rubber-lift method more reliable than counting bolt turns: a correctly adjusted belt lifts about one inch at the midpoint when tugged from the side. Use the rear adjustment bolts, turning each a quarter-turn clockwise and retesting until the lift is correct.
A well-tensioned belt also improves distance tracking accuracy, which matters if you use the machine's display for mileage-based workouts. My reference guide on steps per mile on a treadmill by speed explains how belt slippage introduces errors in those readings.
For a complete guide to this procedure including tools, step sequence, and troubleshooting for persistent slippage, my treadmill belt adjustment guide covers the full process.
If your treadmill stays loud even after lubrication, the problem has likely shifted to the drive belt connecting the motor to the front roller - a separate component that also dries out and stretches over time.
Roller and Bearing Wear
Worn roller bearings produce a consistent grinding or humming that does not respond to lubrication. To inspect a roller bearing, lift the belt off the roller and spin the roller by hand - a healthy bearing spins freely and silently; a failing bearing feels rough or gritty under load. Front and rear rollers each cost $30 to $80 and can be replaced without removing the motor or electronics.
In some cases, a seized front roller causes the same symptoms as an electrical fault - the motor stalls against the jammed roller and triggers the overload protection. Replacing the roller and clearing the motor-to-roller drive belt eliminates this category of failure entirely. The walking backwards on a treadmill exercise places different lateral stress on the rear roller, so owners who practice that variation should inspect the rear roller more frequently.
How to Test a Treadmill Motor - Resistance and Continuity Checks
Basic tools needed for DIY treadmill motor testing and repair:
- A standard multimeter set to resistance mode (ohms) and continuity mode
- A screwdriver set covering Phillips head and flathead sizes
- Compressed air in a can for clearing dust from the motor compartment
- Work gloves rated for light electrical contact - motor capacitors can hold a charge after unplugging
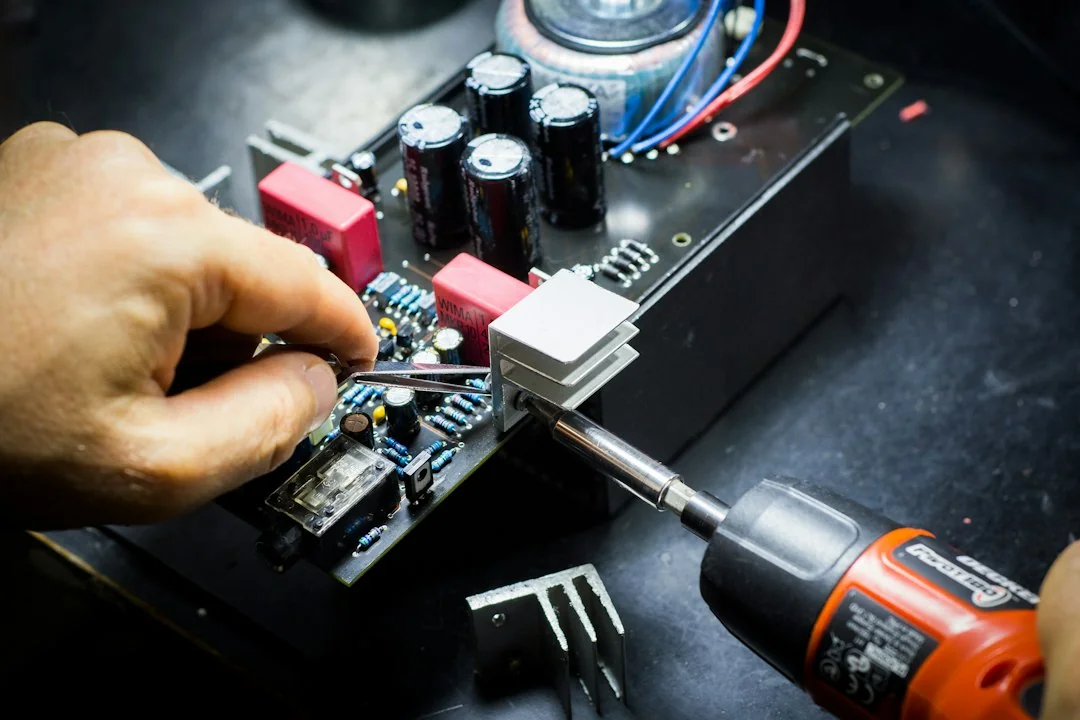
Before committing to any treadmill motor repair or outright replacement, confirm whether the motor itself has failed using a multimeter. Fixing treadmill motor winding or brush issues requires knowing first whether the problem is the motor or the board controlling it. This test takes under ten minutes and prevents purchasing a replacement motor that turns out to be unnecessary. Disconnect the motor wires from the control board - there will typically be two wires for the brush connections and two for the field coil.
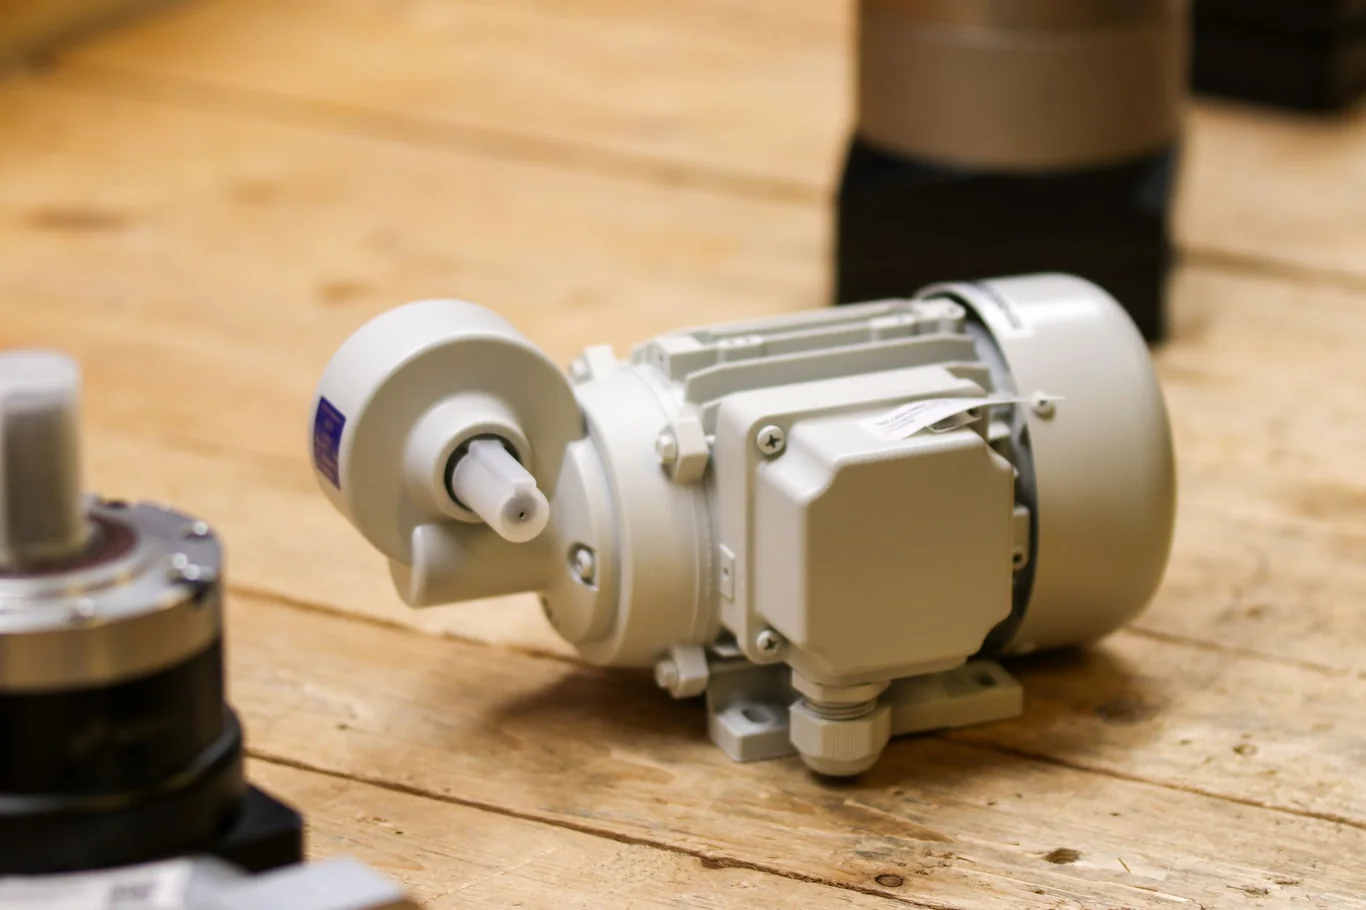
Set the multimeter to resistance mode and touch the probes to the brush wire terminals. A functional motor reads between 1 and 10 ohms, with most home treadmill motors reading closer to 1 to 5 ohms depending on motor size. A 2.5 hp treadmill motor, which is standard on many mid-range home machines, typically reads toward the lower end of this range when brushes are in good condition. A reading of zero indicates a short circuit; an infinite resistance reading confirms a failed winding. If resistance reads in the normal range, reconnect and apply a low-voltage DC source directly to the motor terminals to verify mechanical function - if the motor spins freely, the mechanical components are intact, though this test does not replicate full operating voltage. Treadmill motor rpm at full operating voltage typically falls between 4,000 and 5,000 rpm for most home motors - a number you can verify with a contact tachometer once the machine is running normally.
Replacing Treadmill Motor Brushes
Fixing treadmill motor brush wear - specifically replacing worn carbon brushes - is one of the most cost-effective repairs for older DC treadmill motors. Carbon brushes press against the motor commutator and wear progressively over time, typically lasting several hundred to around 1,000 hours of regular use. Research on electric motor performance suggests that wear in rotating contact components is among the leading contributors to motor degradation, and proactive monitoring of these wear points remains uncommon across consumer equipment (5).
I flag the intermittent speed drop as the most telling sign that brushes need attention - it is different from a thermal shutdown and often gets misattributed to a failing control board. Signs that brushes need replacement include:
- Intermittent speed drops that occur randomly rather than after a fixed warm-up period
- Slow motor starts where the belt accelerates gradually over several seconds rather than reaching speed immediately
- Visible sparking at the motor housing during operation, viewed through the ventilation slots
- Treadmill not working at all after a period of these intermittent symptoms
Replacement brushes cost $10 to $30 for most common treadmill motor types. To replace them, locate the brush holder caps on the motor housing, unscrew the caps, and pull out the worn brushes. Inspect the commutator surface at the same time - a commutator with deep grooves, heavy carbon deposits, or pitting should be cleaned with a commutator cleaning stone or fine-grit sandpaper before installing new brushes, as a damaged surface significantly accelerates wear. ProForm treadmill motor replacement of brushes follows this same procedure on most models - the brush caps are accessible without removing the full motor cover. Keep in mind that most home treadmills use brushed DC motors, while commercial machines typically use AC motors with different maintenance requirements - the brush replacement steps in this section apply to DC motor machines only. If the motor is confirmed failing on an older frame with multiple worn components, a modern replacement may be the more practical investment. See our best folding treadmill guide for compact, space-efficient upgrade options.
Treadmill Motor Replacement Cost and the Repair vs. Replace Decision
Understanding treadmill motor replacement cost prevents over-investing in a machine that has passed its economic repair threshold. The table below covers the most common repair scenarios by component.
Component Repair Cost Guide
Component | DIY Part Cost | Professional Service | Typical Lifespan |
Safety key | $5 to $15 | N/A - DIY only | Several years |
Silicone deck lubricant | $8 to $20 | N/A - DIY only | 3 to 6 months |
Drive belt | $40 to $120 | $150 to $300 | 3 to 5 years |
Motor brushes | $10 to $30 | $100 to $150 | 500 to 1,000 hours |
Rollers (each) | $30 to $80 | $150 to $250 | 5 to 10 years |
Motor control board | $80 to $200 | $250 to $400 | 5 to 10 years |
Drive motor | $150 to $500 | $400 to $700 | 5 to 15 years |
Costs are approximate and vary by brand, model year, and parts availability. Professional service rates vary by region.
When Replacement Makes More Sense
Motor economics research suggests that when combined repair costs reach a substantial percentage of replacement value, full equipment replacement typically becomes the more economical choice over a multi-year horizon (6). I use this 40 to 50% threshold as a practical guide and find it holds well for mid-range home treadmills.
Repair Scenario | Machine Age | Decision |
Motor brushes only | Any age | Repair - low cost, high return |
Control board only | Under 7 years | Repair - board is the critical component |
Drive motor only | Under 5 years | Repair - motor replacement is cost-effective |
Motor + belt + rollers | Over 7 years | Replace - cumulative cost exceeds value |
Motor + control board | Over 8 years | Replace - approaching full system failure |
No parts available | Any age | Replace - obsolete parts block repair path |
If a drive motor replacement is needed on a machine that is over eight years old and also showing belt and roller wear, the combined repair bill can reach $700 to $1,000 - the purchase price of a solid mid-range replacement machine. In that scenario, replacement clearly wins. On a machine under five years old or an original premium purchase, motor repair is almost always worth the investment. When evaluating replacements that offer better incline and speed range, our best incline treadmill guide covers the leading options across price tiers.
How to Reset a Treadmill After a Motor-Related Error
When fixing treadmill motor errors or recovering from a post-overheating lockout, the following general reset procedure works for most machines regardless of brand:
- Unplug the machine from the wall and wait at least five minutes for capacitors in the control board to fully discharge
- Remove and reseat the safety key before plugging back in - many error states clear when the machine sees a clean key insertion on boot
- Plug directly into a wall socket, not a power strip, and power on normally
- If an error code returns, note it precisely and search the brand's service manual - each code maps to a specific component or sensor, which avoids guesswork
NordicTrack and ProForm units often have a pinhole reset button behind the front console panel, accessible with a straightened paperclip. Sole and Horizon models typically use the unplug-and-wait method. If the reset clears the error and the machine runs normally, the issue was a software glitch or sensor fault rather than a hardware failure. Once your machine is running again, pairing it with a fitness tracker helps monitor workout output during and after repair - see our guide on what a smartwatch does for wearable options that complement treadmill training.
The Bottom Line on Treadmill Motor Repair
Fixing treadmill motor problems at home is achievable for anyone comfortable with basic tools and a logical troubleshooting sequence. Most treadmill failures trace back to three preventable causes: insufficient lubrication, blocked motor airflow, and worn brushes. Catching these early makes fixing treadmill motor issues straightforward and costs far less than a professional repair call or a replacement machine.
Start every diagnosis with the simplest check first - the safety key and the outlet - before assuming a component failure. Use the symptom table to map your specific problem to the right repair, and use the cost table to make an honest repair-versus-replace decision. When a treadmill stopped working situation turns out to need a full motor swap on an aging machine, approaching it with a clear cost threshold removes the guesswork. I recommend a 15-minute inspection every three months covering belt tension, lubrication, and motor compartment cleaning - that single habit resolves the majority of treadmill fix scenarios before they become expensive repairs. For owners who prefer a simpler motor design with a lighter maintenance load, our best under-desk treadmill guide covers compact walking pad options.
FAQs
Can a treadmill motor be repaired?
A treadmill motor can be repaired in most cases, particularly when the problem involves worn brushes, a failed motor control board, or dust-related overheating rather than a physically damaged winding. The repair is worth attempting when the machine is under eight years old and the total repair cost stays below 40 to 50% of the machine's replacement value.
Is it worth it to replace a treadmill motor?
Replacing a treadmill motor is worth it when the motor is the only failed component on a machine that is otherwise in good condition and the replacement cost stays below 40 to 50% of the machine's current replacement value. On older machines showing multiple worn components - belt, rollers, and motor together - full machine replacement is typically the better long-term investment.
How much does it cost to fix a treadmill motor?
The cost to fix a treadmill motor depends on the specific problem: motor brush replacement runs $10 to $30 in parts, a replacement control board costs $80 to $200, and a full drive motor replacement runs $150 to $500 for parts alone. Professional service adds $150 to $300 in labor on top of part costs depending on local market rates.
Is it worth fixing a treadmill?
Fixing a treadmill is worth it when the total repair cost stays below 40 to 50% of a comparable new machine, the treadmill is under eight years old, and the repair targets the primary failure rather than a cascade of aging components. Routine maintenance repairs like lubrication, belt tension correction, and motor brush replacement almost always cost under $50 and are worth performing on any machine regardless of age.
Keeping these components in working order also matters for joint health: a degraded belt and worn deck reduce the cushioning the machine provides per stride, a connection I examine in my guide to treadmill wear and knee impact.
For a full breakdown of component lifespans and what drives them, my guide on how long treadmills last covers motor, belt, and deck replacement timelines across price tiers.
When to replace treadmill motor brushes?
Treadmill motor brushes should be replaced when you notice intermittent speed drops, slow motor starts that speed up after a few seconds, or visible sparking at the motor housing during operation. As a preventive measure, inspect the brushes every 12 to 18 months on a frequently used machine and replace them when the carbon material has worn to under a quarter-inch in length.
High-volume users, including those training for a marathon on a treadmill, will reach the 300 to 500 hour service threshold significantly faster and should schedule brush inspections accordingly.
References:
- Kundu R, Krieger T, Sanchez R, Lankford D. The interaction of treadmill type and incline slope on biomechanics and muscle activation during human locomotion. Int J Exerc Sci. 2024;17(1). doi:10.70252/GMWV8349
- Thomas D, Weiss B. Maintenance costs and advanced maintenance techniques in manufacturing machinery: Survey and analysis. Int J Prognostics Health Manag. 2021;12(1):2883. doi:10.36001/ijphm.2021.v12i1.2883
- Rosli NS, Ibrahim R, Ismail I, Omar M. Modeling of high voltage induction motor cooling system using linear regression mathematical models. PLoS One. 2022;17(10):e0276142. doi:10.1371/journal.pone.0276142
- Hernandez-Lopez LA, Pimentel-Aguilar AB, Ortiz-Posadas MR. An index to prioritize the preventive maintenance of medical equipment. Health Technol (Berlin). 2019;9(4):371. doi:10.1007/s12553-019-00371-y
- Podmiljsak B, Saje B, Jenus P, et al. The future of permanent-magnet-based electric motors: How will rare earths affect electrification? Materials (Basel). 2024;17(4):848. doi:10.3390/ma17040848
- Butukuri KR, Giri NC, Yemula PK, et al. Assessment of a 40-year-old induction motor using hybrid diagnostic and AI-based predictive techniques. Sci Rep. 2026;16:44319. doi:10.1038/s41598-026-44319-5